
Introduction: A Sweet Treat with a Nostalgic Twist
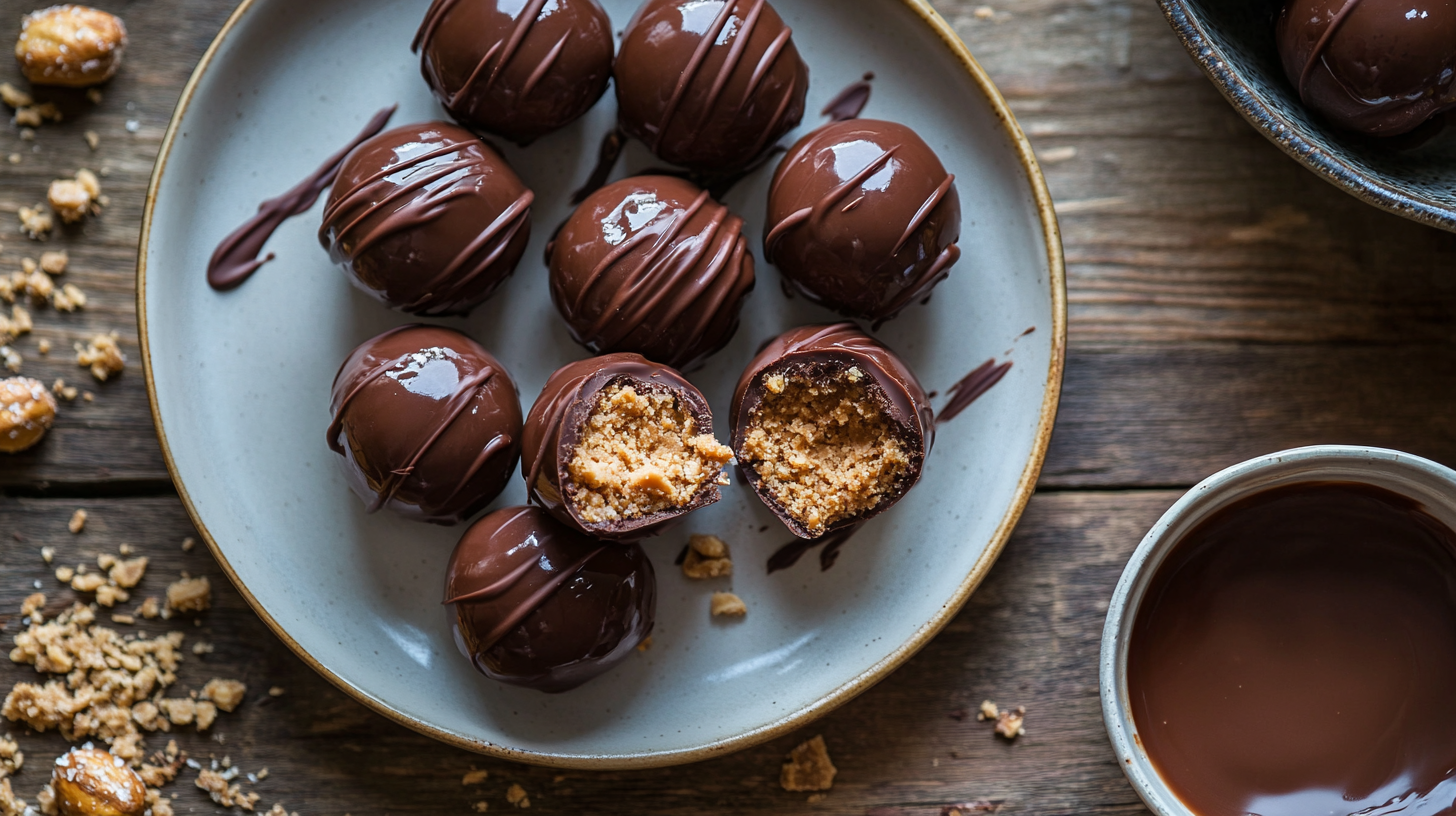
Growing up, Butterfingers were always my go-to candy. There was something about the crispy, peanut-buttery crunch wrapped in smooth chocolate that made it irresistible. So, when I first discovered Butterfinger Balls—a no-bake treat that combines the best flavors of the classic candy bar into bite-sized goodness—I knew I had to try making them myself.
I still remember my first attempt; I was skeptical about crushing candy bars into a mixture, but the results were heavenly. They were crunchy, creamy, and perfectly coated in chocolate, making them a hit at every holiday gathering and party. Now, I make them all the time, and they never last long!
Today, I’m excited to share my step-by-step guide so you can recreate these delicious Butterfinger Balls at home. Whether you’re making them for a party, as a holiday treat, or just to satisfy your sweet tooth, this recipe is foolproof and requires no baking.
Ingredients You’ll Need
Before you start, gather the following ingredients:
| Ingredient | Quantity |
|---|---|
| Butterfinger candy bars | 10 full-size bars (crushed) |
| Creamy peanut butter | 1 cup |
| Powdered sugar | 1 cup |
| Unsalted butter | 4 tbsp (melted) |
| Chocolate chips | 2 cups (semi-sweet or milk chocolate) |
| Coconut oil (optional) | 1 tbsp (for smoother chocolate) |
🔹 Tip: For a richer flavor, you can use dark chocolate instead of milk chocolate.
Step-by-Step Instructions to Make Butterfinger Balls
Step 1: Crush the Butterfinger Bars
Place the Butterfinger candy bars in a ziplock bag and crush them using a rolling pin. You want a fine, crumbly texture but still with some small crispy pieces for added crunch. Alternatively, you can pulse them in a food processor for a more uniform consistency.
Step 2: Mix the Dough
In a large mixing bowl, combine:
- Crushed Butterfinger bars
- Creamy peanut butter
- Powdered sugar
- Melted butter
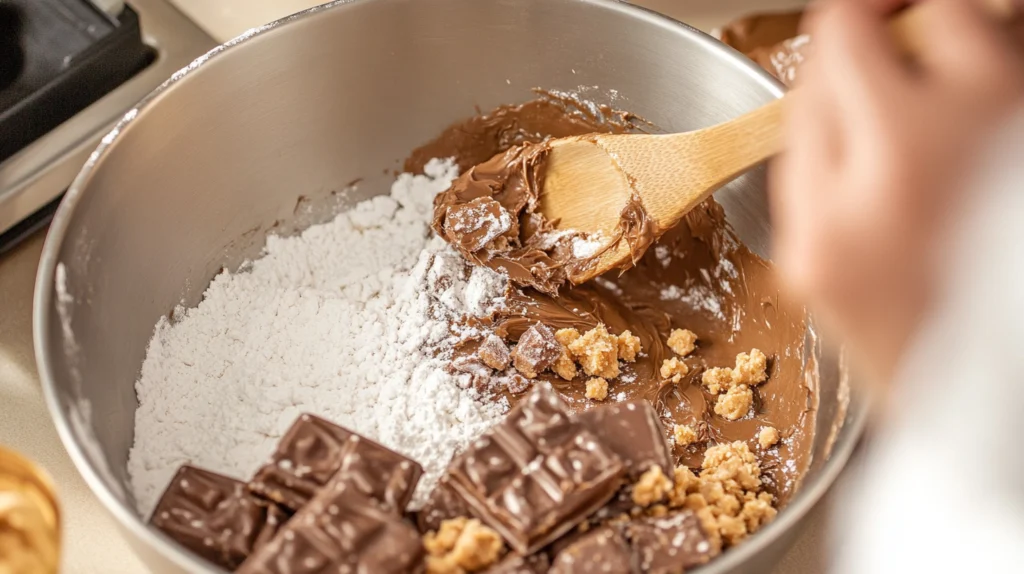
Use a wooden spoon or electric mixer to blend everything together until a thick dough forms. If the mixture feels too sticky, you can add a little more powdered sugar until it’s easier to handle.
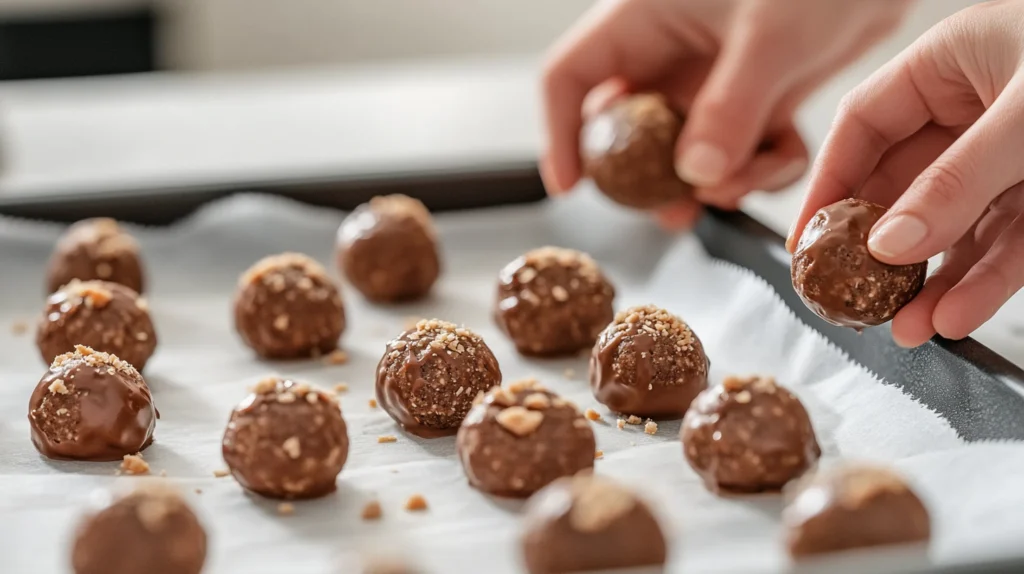
Step 3: Roll into Bite-Sized Balls
Take about 1 tablespoon of the mixture and roll it into a smooth ball. Place each ball onto a baking sheet lined with parchment paper. Repeat until all the dough is used.
⏳ Chill for 30 minutes in the refrigerator. This helps them firm up, making the chocolate-coating process easier.
Step 4: Melt the Chocolate
In a microwave-safe bowl, melt the chocolate chips with coconut oil (if using) in 30-second intervals, stirring between each round. This prevents burning and ensures smooth, glossy chocolate.
Alternatively, you can use a double boiler on the stovetop to melt the chocolate slowly over simmering water.
Step 5: Dip & Coat
Using a fork or dipping tool, roll each Butterfinger ball in the melted chocolate, ensuring even coverage. Let any excess chocolate drip off before placing it back onto the parchment-lined baking sheet.
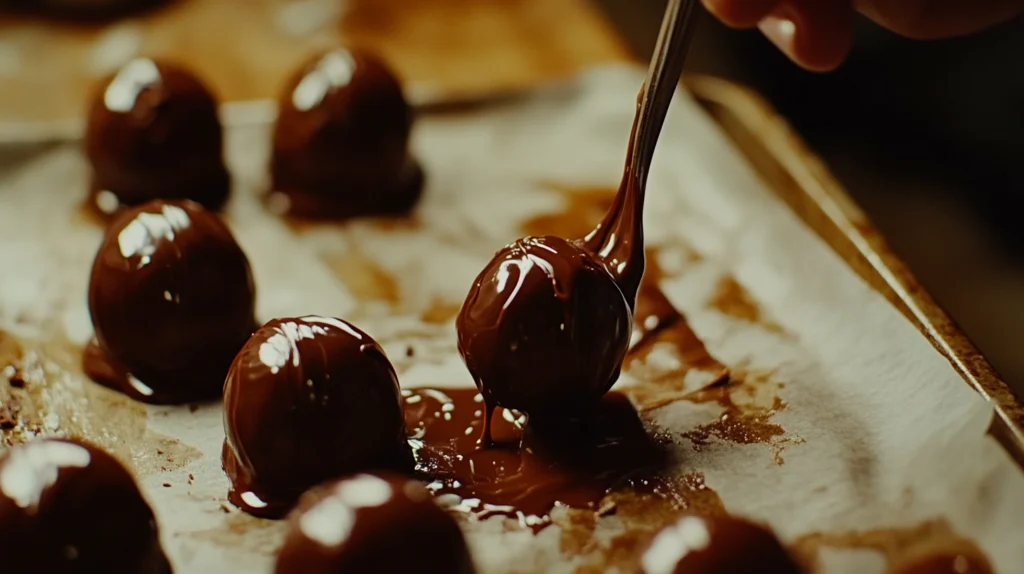
🔹 Tip: If you want a decorative drizzle, set aside some melted chocolate to drizzle over the coated balls after they harden.
Step 6: Let Them Set
Place the coated Butterfinger Balls back in the fridge for at least 30 minutes to allow the chocolate to harden completely.
How to Store Butterfinger Balls
- Refrigerator: Store in an airtight container in the fridge for up to 2 weeks.
- Freezer: Freeze in a freezer-safe container for up to 3 months. Just let them sit at room temperature for a few minutes before eating.
Variations & Fun Twists
🔸 White Chocolate Butterfinger Balls – Swap milk chocolate for white chocolate for a sweeter version.
🔸 Dark Chocolate Lovers – Use 70% dark chocolate for a more intense, less sweet treat.
🔸 Extra Crunchy Version – Mix in Rice Krispies or chopped peanuts for added texture.
🔸 Salted Caramel Drizzle – Drizzle caramel sauce on top before serving for an extra indulgent treat.
Serving Ideas & Pairings
🍫 Serve these Butterfinger Balls with hot cocoa or coffee for a cozy treat.
🎉 Arrange them on a dessert tray alongside No-Bake Pumpkin Cheesecake Balls (Check out this easy recipe).
🍦 Crush a few Butterfinger Balls and sprinkle them over ice cream for a next-level sundae.
FAQs About Butterfinger Balls
Can I use crunchy peanut butter instead of creamy?
Yes! It will give the Butterfinger Balls an extra crunchy texture.
What’s the best way to crush Butterfinger bars?
The easiest method is using a food processor, but a rolling pin and ziplock bag works just as well.
Can I make Butterfinger Balls ahead of time?
Absolutely! They store well in the fridge and freezer, making them perfect for meal prep or holiday treats.
Do I have to use coconut oil in the chocolate?
No, but it helps make the melted chocolate smoother and easier to coat the balls.
Conclusion: The Perfect No-Bake Dessert
Butterfinger Balls are the ultimate bite-sized treat—they’re easy to make, full of peanut butter flavor, and coated in rich chocolate. Whether you’re making them for holiday gatherings, gift boxes, or just because, they’re guaranteed to be a hit!
If you love this recipe, you might also enjoy these other sweet treats:
- White Chocolate Raspberry Cheesecake Balls
- Mini Pineapple Upside-Down Cheesecakes
- Cheesecake Crescent Rolls Casserole
Try making these Butterfinger Balls today, and let me know how they turn out! Happy snacking!