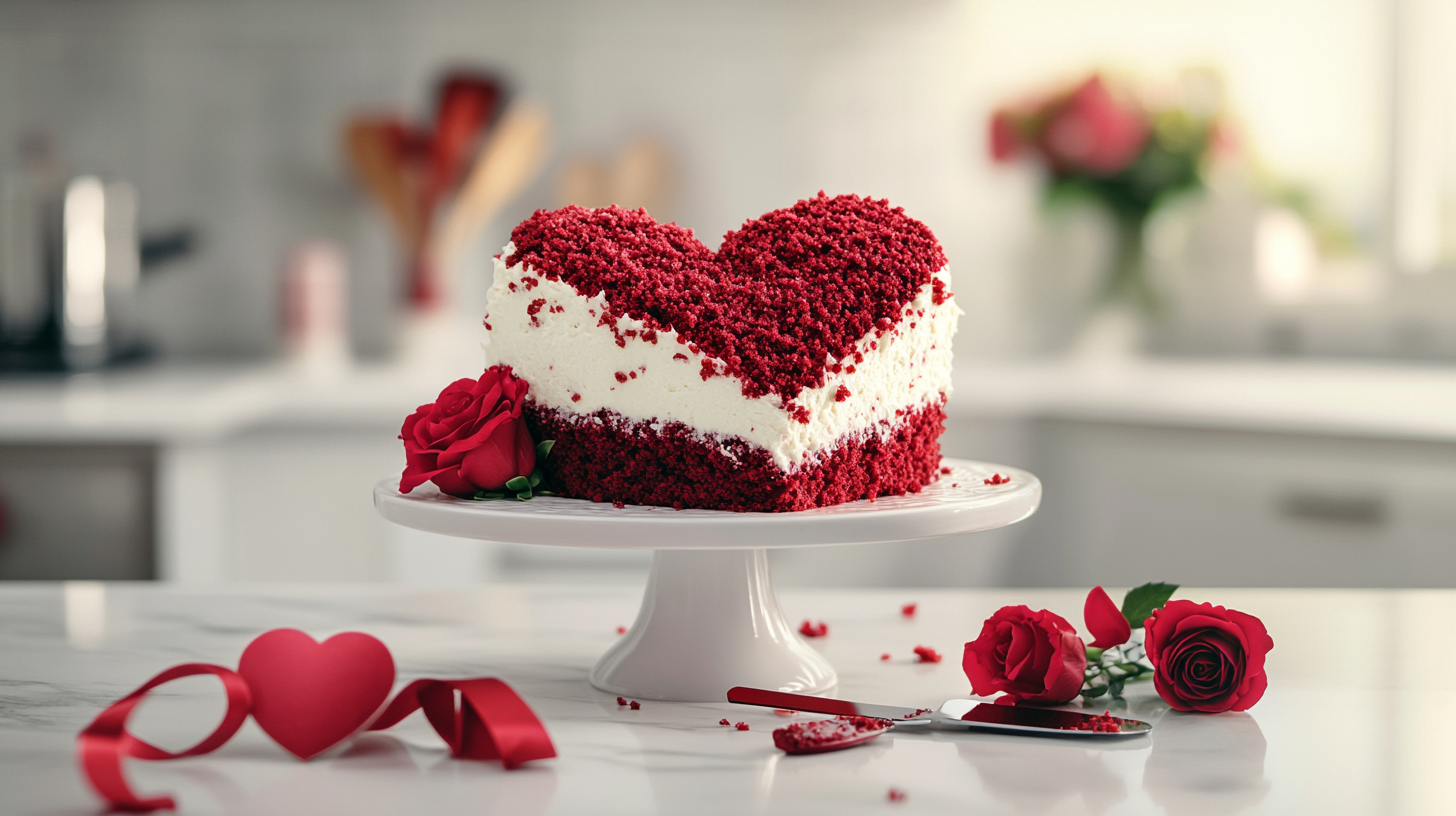
I’ll never forget the first time I made a heart shape red velvet cake.
It was February. The air was crisp, love was in the air, and I had this sudden spark of inspiration. I wanted to create something personal. Not just a dessert—but something that said “I made this for you.” I pulled out my old mixer, a few well-worn pans, and got to work. That cake—bold red, slathered with tangy cream cheese frosting, shaped like a heart—turned into so much more than just a dessert. It was a memory. A message. And a little masterpiece that came straight from the heart.
Over the years, I’ve refined and replayed this recipe for birthdays, anniversaries, and even as a weekend pick-me-up. And every time, it delivers that same warmth and joy. Today, I’m sharing this with you—every step, every trick, and a little extra love along the way.
So tie on your apron, preheat that oven, and let’s create something beautiful.
Why Red Velvet Is More Than Just Cake
Red velvet has a personality of its own. It’s not as rich as chocolate, but it’s got that subtle cocoa note. It’s tangy, thanks to buttermilk and vinegar, and the cream cheese frosting? It’s basically the icing of love.
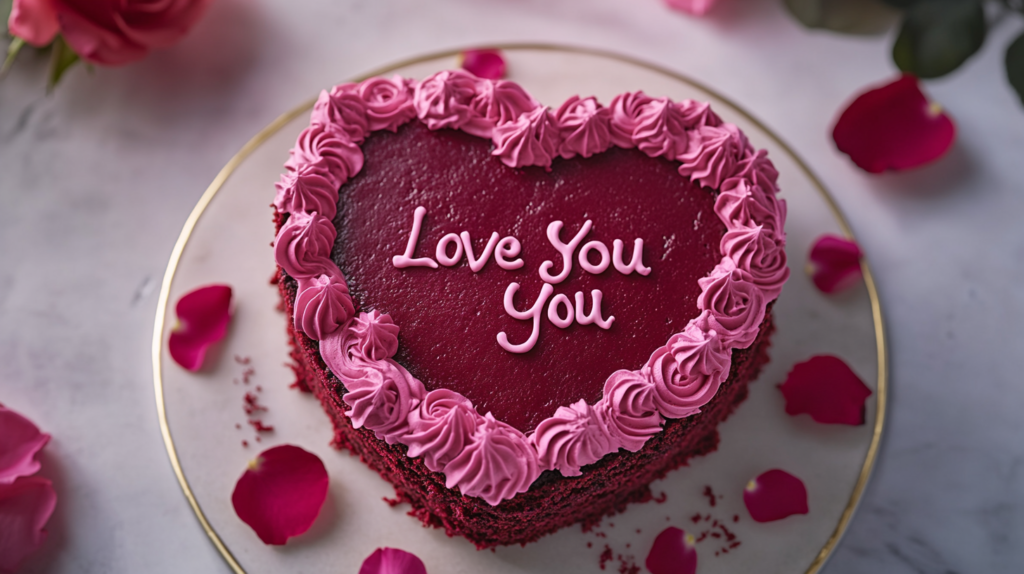
And let’s not forget the color. That deep, dramatic red isn’t just for looks—it’s a vibe. Bold, romantic, unforgettable.
A heart shape just seals the deal. Whether it’s for Valentine’s Day, your anniversary, or “just because,” this cake makes a moment feel special.
Gather Your Ingredients (and Your Excitement)
You don’t need fancy stuff to make this cake. But using fresh, high-quality ingredients really helps make it shine.
For the cake:
- 2½ cups cake flour (sifted)
- 2 tablespoons unsweetened cocoa powder
- 1 teaspoon baking soda
- ½ teaspoon salt
- 1 cup unsalted butter, softened
- 1¾ cups granulated sugar
- 2 large eggs
- 1 teaspoon vanilla extract
- 1 tablespoon red gel food coloring
- 1 cup buttermilk
- 1 teaspoon white vinegar
For the cream cheese frosting:
- 16 oz cream cheese (softened, full-fat)
- 1 cup unsalted butter
- 4 cups powdered sugar
- 1 tablespoon vanilla extract
If you’ve got a heart-shaped cake pan—awesome. If not? Don’t worry. I’ll show you a little trick that turns regular pans into a heart.
Let’s Bake This Beauty – Step by Step
Step 1: Get Things Ready
Preheat your oven to 350°F (175°C).
Grease and flour two 8 or 9-inch heart-shaped pans. No heart pans? You can use one round and one square cake pan. You’ll cut and shape them later (don’t worry—it’s easier than it sounds!).
Step 2: Mix the Dry Stuff
In a medium bowl, sift together:
- Cake flour
- Cocoa powder
- Baking soda
- Salt
Give it a quick whisk so everything’s evenly mixed. Set aside.
Step 3: Cream the Butter and Sugar
In a large bowl, beat the butter until creamy. Add the sugar and beat for 3–4 minutes until it’s light and fluffy. This is where the cake gets its tender texture, so don’t rush it.
Step 4: Add Eggs, Vanilla & That Signature Color
Add eggs one at a time, beating well after each.
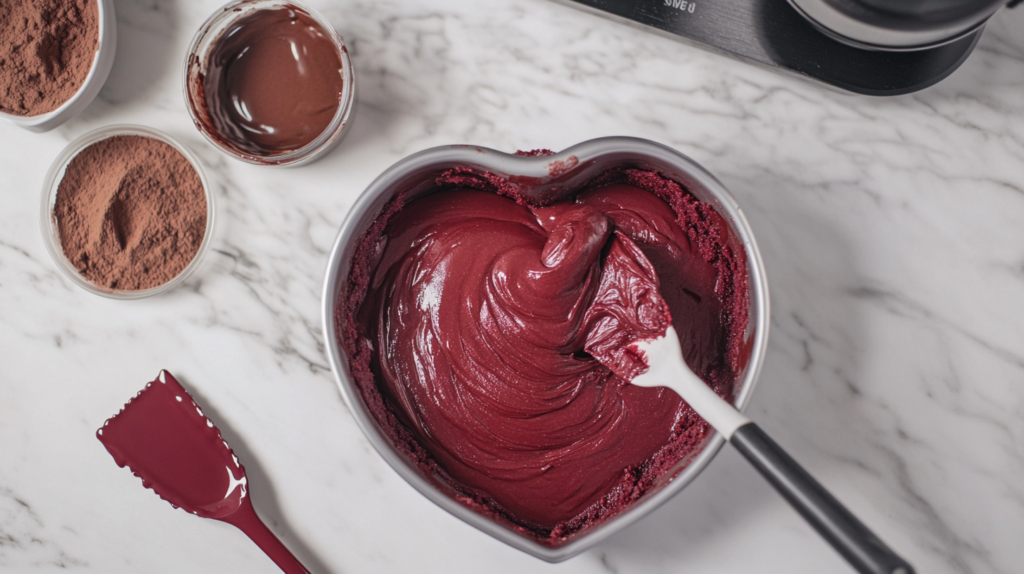
Stir in the vanilla, then mix in the red gel food coloring. It’s going to look dramatic—and that’s exactly what we want.
Step 5: Combine Everything
Alternate adding the dry ingredients and buttermilk to your batter. Start and end with dry. So it goes:
- Dry
- Buttermilk
- Dry
- Buttermilk
- Dry
Stir gently—don’t overmix. You want it just combined.
In a small cup, mix the vinegar and a tiny pinch of baking soda. It’ll fizz! Fold that right into the batter. This helps lift the cake and gives it that unique red velvet texture.
Step 6: Pour and Bake
Divide the batter evenly between your pans.
Gently tap each pan on the counter to release any air bubbles.
Bake for 25–30 minutes. You’ll know they’re ready when a toothpick in the center comes out with a few crumbs (not wet batter).
Cool in the pans for 10 minutes, then transfer to wire racks to cool completely.
Making the Heart (if You Don’t Have a Heart Pan)
This trick still amazes people.
- Bake one round and one square cake.
- Cut the round cake in half.
- Place each half on adjacent sides of the square cake.
- Boom—you’ve got a heart.
Smooth out the seams with frosting and no one will ever know.
Check out our cream puff cake if you love getting creative with shapes.
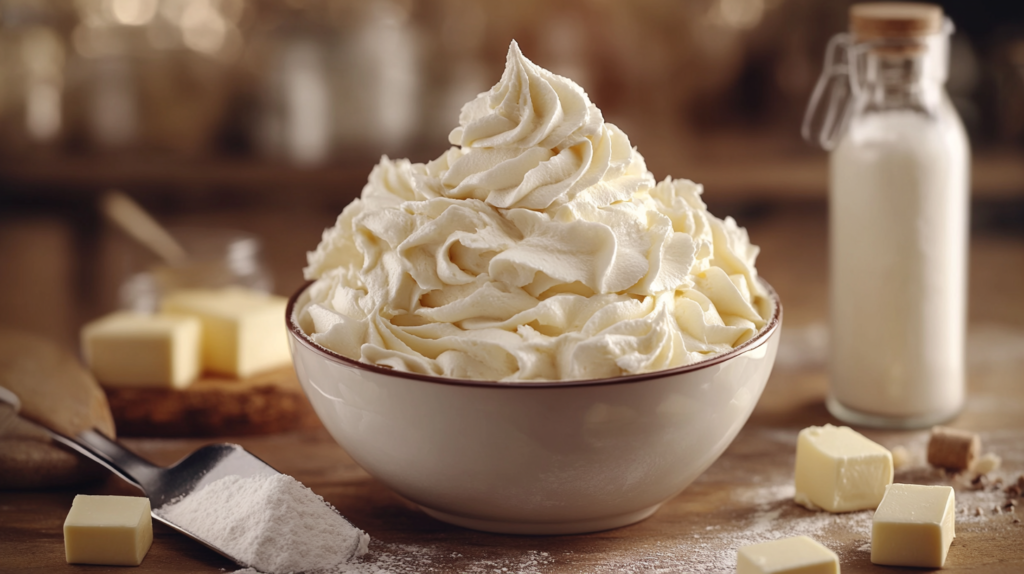
Let’s Make the Cream Cheese Frosting
In a large bowl, beat your cream cheese and butter until smooth and creamy.
Gradually add the powdered sugar, about a cup at a time.
Add the vanilla and whip it all together until fluffy and spreadable.
Pop the frosting in the fridge for about 15 minutes—it’ll be easier to work with when it’s slightly chilled.
Time to Frost and Assemble
Trim the tops off your cakes if they’ve domed.
Place one cake on a serving board. Spread a generous layer of frosting on top. Add the second cake and give it a little press to settle.
Now, apply a crumb coat—a thin layer of frosting to trap any loose crumbs.
Chill for 20–30 minutes.
Then frost the entire cake. Smooth it out with a spatula or make little swirls if you’re feeling artistic.
Top with red velvet crumbs, heart sprinkles, or pipe a romantic message across the top.
Want to take it up a notch? Add chocolate-covered strawberries for a dramatic finish.
Add Your Own Flavor Twist
Feeling bold? Try one of these:
- Add mini chocolate chips to the batter
- Swirl in raspberry jam between the layers
- Mix Baileys or amaretto into the frosting
- Drizzle with white chocolate ganache
For more inspiration, try our decadent raspberry tiramisu—a berry lover’s dream.
How to Store It (If There’s Any Left)
Store the cake in an airtight container in the fridge. It’ll stay fresh for 4–5 days.
Before serving, let it sit at room temperature for 30–45 minutes. The frosting softens beautifully.
You can also freeze slices—wrap them in plastic wrap and foil. They’ll keep for up to 2 months.
Your Questions, Answered
Can I use natural red coloring?
Yes! Beet juice or beet powder works great, though the shade will be softer.
How do I keep it moist?
Don’t overmix, don’t overbake. Buttermilk + vinegar = your moisture magic.
Can I make it gluten-free?
Yes! Swap in a 1:1 gluten-free flour blend.
How do I frost a heart cake neatly?
Start with a crumb coat. Chill. Then use an offset spatula to apply the final layer. Take your time.
Can this be a tiered cake?
Sure. Just use supports between the layers (like dowels and boards).
Don’t like cream cheese frosting?
Try white chocolate buttercream or even whipped mascarpone.
Final Thoughts: A Slice of Love
This isn’t just a cake. It’s a gesture. A gift. A memory in the making.
There’s something beautiful about baking something with your own hands—measuring, mixing, frosting, tasting—and then watching someone’s face light up with that first bite.
This heart shape red velvet cake is made for those moments. Whether it’s Valentine’s Day, a birthday, an anniversary, or just a quiet Tuesday where you feel like saying “I love you,” this cake speaks the language.
And if you’re craving more red velvet goodness, don’t miss our red velvet cheesecake brownies. They’re rich, gooey, and 100% unforgettable.
Happy baking—from my heart to yours.