Introduction: Why Bread and Crumbs Are Kitchen Heroes
When it comes to kitchen essentials, bread and crumbs might not be the first thing that comes to mind, but they should be! These humble ingredients do more than sit in your pantry—they rescue stale bread, add crunch to your meals, and bring versatility to countless recipes. Whether you’re working with leftover bread or crafting something fresh, breadcrumbs are a key ingredient for transforming simple dishes into memorable ones.
The best part? Making bread and crumbs at home is not only easy but also reduces food waste, giving those forgotten slices a new purpose. From crispy toppings for casseroles to sweet crumb layers for desserts, there’s no shortage of ways to use them in your cooking. Plus, homemade crumbs let you control texture and flavor for that perfect dish every time.
How to Make Bread and Crumbs: A Step-by-Step Guide
Ingredients:
- Bread: Use stale or fresh bread—sourdough, whole wheat, gluten-free, or rustic loaves all work well.
- Olive Oil: Optional, for added flavor.
- Salt: Optional, to enhance taste.
Instructions:
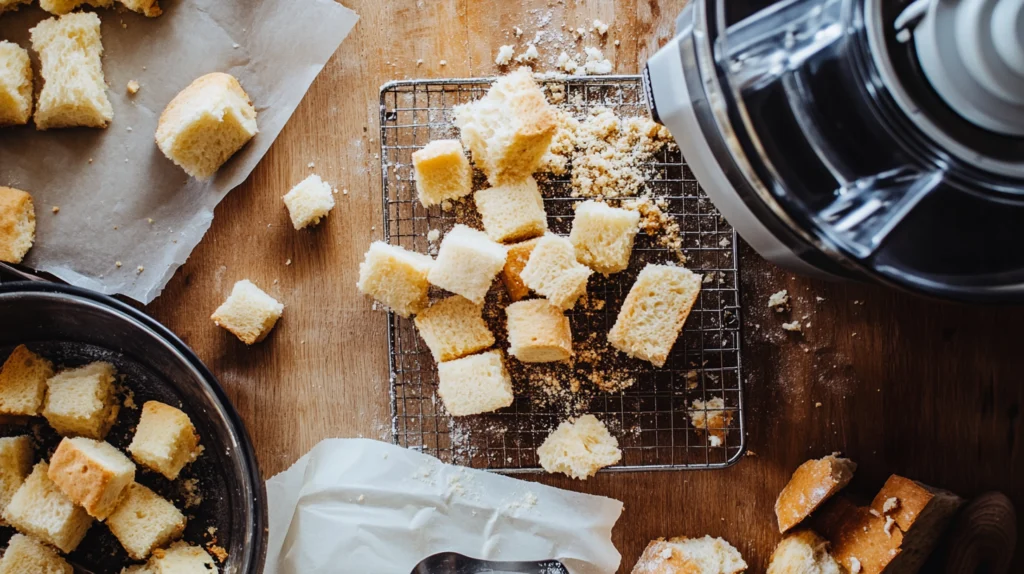
- Prepare the Bread: Tear the bread into chunks. If you’re using fresh bread, dry it in the oven at 300°F for 10–15 minutes until slightly firm.
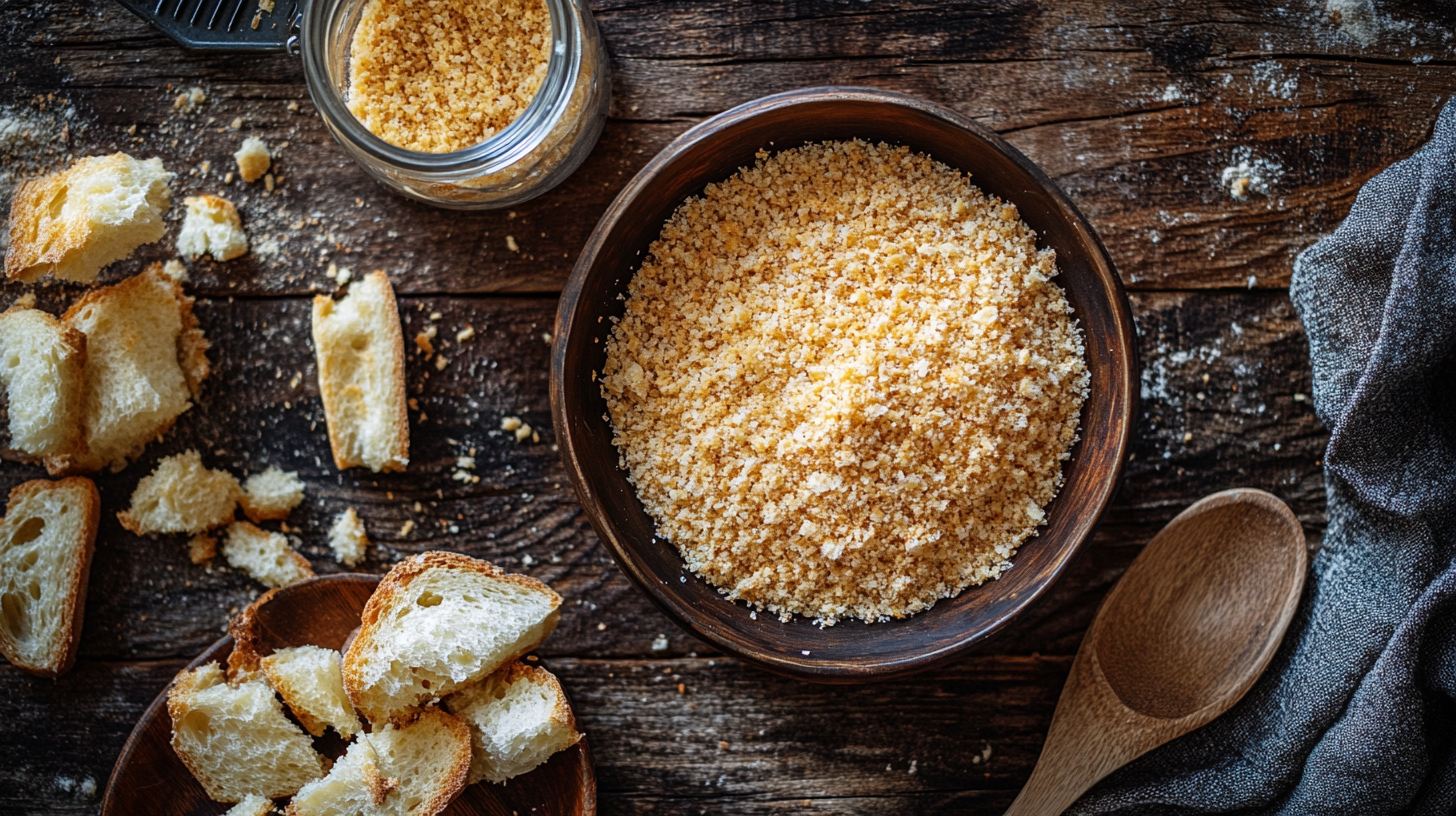
- Process: Use a food processor to pulse the chunks into fine crumbs. For a rustic texture, try using a rolling pin or a grater instead.
- Bake: Spread the crumbs evenly on a baking sheet. Bake at 350°F for 10–18 minutes, stirring occasionally, until golden brown.
- Cool: Let the crumbs cool completely before transferring them to storage containers.
Pro Tip: Leaving the crusts on gives your bread and crumbs extra flavor and character, while trimming them results in a more uniform crumb texture.

Choosing the Right Bread for Perfect Crumbs
The type of bread you use for your crumbs makes all the difference. Different breads bring their own flavors and textures to the table:
- Sourdough: Perfect for creating rustic, tangy crumbs that pair beautifully with savory dishes.
- Gluten-Free Bread: A great option for those with dietary restrictions, delivering crunch without compromise.
- Whole Wheat: Adds a hearty, nutty flavor to dishes like casseroles and salads.
- Avoid Seeded Breads: While delicious on their own, seeds can affect the texture of your crumbs, making them less versatile.
Tips for Prepping Bread and Crumbs
Making perfect bread and crumbs is easy with a few key tips:
- Fresh vs. Stale Bread: While stale bread is ideal for processing, you can use fresh bread by drying it out in the oven. Stale bread crumbles more easily and crisps up faster in the oven.
- Crusts On or Off? Keep crusts for extra flavor or remove them if you prefer a uniform appearance.
- No Food Processor? No Problem! A grater, rolling pin, or even a blender can work in a pinch.
- Freeze Your Bread: Frozen bread is incredibly easy to crumble and can go straight into the food processor without thawing.
Seasoning Ideas for Bread and Crum
Take your bread and crumbs to the next level with these creative seasoning combinations:
- Italian Breadcrumbs: Add garlic powder, onion powder, Italian seasoning, and grated Parmesan for a savory, versatile blend.
- Lemon Zest Mix: Combine lemon zest, olive oil, and salt for a zesty, fresh crumb topping.
- Sweet Crumbs: Use cinnamon and sugar to create a delightful dessert topping, perfect for pies and crumbles.
Creative Uses for Bread and Crumbs
Wondering what to do with your freshly made bread and crumbs? The possibilities are endless:
- Pasta Dishes: Sprinkle toasted crumbs over spaghetti or baked ziti for a crunchy topping.

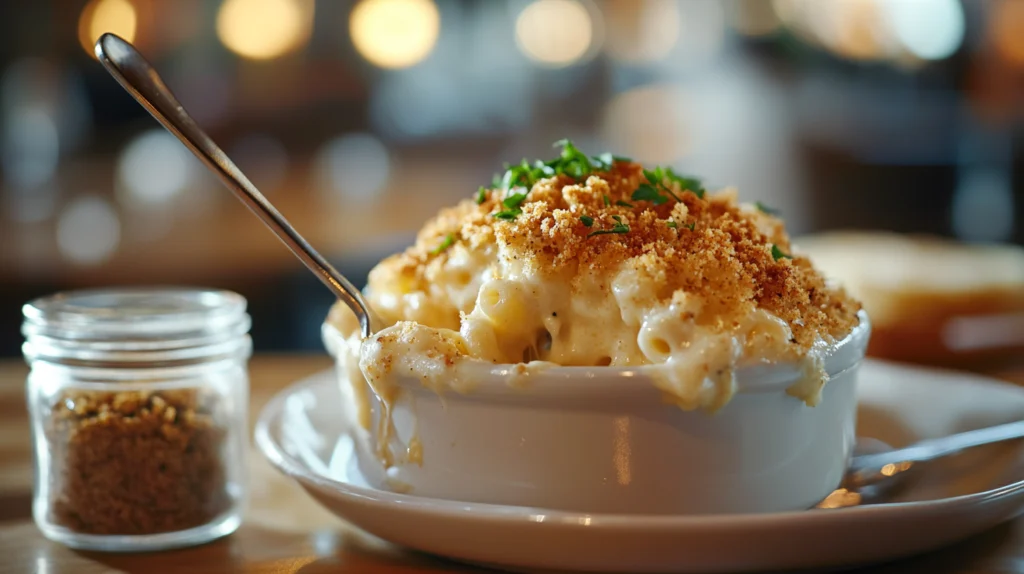
- Casseroles: Use seasoned crumbs as a crispy layer for casseroles like mac and cheese or baked vegetables.
- Salads: Add toasted crumbs for an unexpected texture boost.
- Desserts: Sweet crumbs make a great topping for fruit crumbles, cheesecakes, and pies.
Storing Your Homemade Bread and Crumbs
Once you’ve made your delicious bread and crumbs, the next step is knowing how to store them properly. This ensures they stay fresh and ready to use whenever inspiration strikes.
Plain Crumbs
- Store in an airtight container at room temperature for up to one month. This keeps them crisp and prevents moisture from ruining their texture.
- Label your container with the preparation date to track freshness.
Seasoned Crumbs
- For crumbs with added seasonings like garlic or cheese, refrigeration is your best bet. These should be stored in an airtight container and used within two weeks to maintain peak flavor.
Freezing Tips
- If you’ve made a large batch of crumbs, freezing is an excellent option. Simply pack them into resealable freezer bags and freeze for up to three months.
- When you’re ready to use them, take out only what you need and let them thaw at room temperature. Frozen crumbs retain their crunch and flavor remarkably well.
Note: Always check for any signs of spoilage, such as unusual smells or changes in texture, before using stored crumbs.
FAQs About Bread and Crumbs
To make sure all your questions about bread and crumbs are answered, here’s a quick FAQ section that covers the most common concerns.
How long do breadcrumbs last?
Plain breadcrumbs can last up to one month at room temperature if stored in an airtight container. Seasoned breadcrumbs are best used within two weeks when refrigerated. For longer storage, freezing is the way to go.
Can I use gluten-free bread?
Absolutely! Gluten-free bread works wonderfully for breadcrumbs. You’ll still get a satisfying crunch without any gluten. Check out this recipe: Gluten-Free Almond Pumpkin Banana Bread for Crumb Recipes.
What’s the best way to achieve coarse crumbs?
For coarse crumbs, pulse the bread fewer times in your food processor. Alternatively, you can use a box grater or crush chunks of dried bread with a rolling pin for a more rustic texture.
Printable Recipe Card: DIY Bread and Crumbs
To wrap things up, here’s your go-to recipe for making bread and crumbs at home. Print it out and keep it handy for your next cooking session!
Ingredients:
- 2 cups stale bread (or fresh bread dried in the oven)
- 2 tablespoons olive oil (optional)
- 1 teaspoon salt (optional)
Instructions:
- Prepare the Bread: Tear the bread into chunks. If using fresh bread, dry it in a 300°F oven for 10–15 minutes.
- Process: Place the bread in a food processor and pulse until you reach your desired crumb size. For coarser crumbs, pulse fewer times.
- Bake: Spread the crumbs on a baking sheet in an even layer. Bake at 350°F for 10–18 minutes, stirring occasionally, until golden brown.
- Cool: Allow the crumbs to cool completely before storing them in an airtight container.
Bread and Crumbs: A Simple Way to Reduce Waste and Add Flavor
With a little effort, you can turn leftover bread into something extraordinary. Bread and crumbs aren’t just a way to reduce waste—they’re a way to add flavor, crunch, and creativity to your cooking. From topping casseroles to elevating pasta dishes, they’re the secret ingredient that makes ordinary meals extraordinary.

And remember, making breadcrumbs is all about flexibility. Experiment with different bread types, seasoning combinations, and storage methods to find what works best for you. Once you get the hang of it, you’ll never look at leftover bread the same way again.
For more recipes :
- Bread and Tomato Soup – A Creative Use for Leftover Breadcrumbs
- 3-Ingredient Banana Bread Recipe – Repurpose into Sweet Breadcrumbs
- Onion Bagels Recipe – Convert Leftovers into Savory Breadcrumbs

