
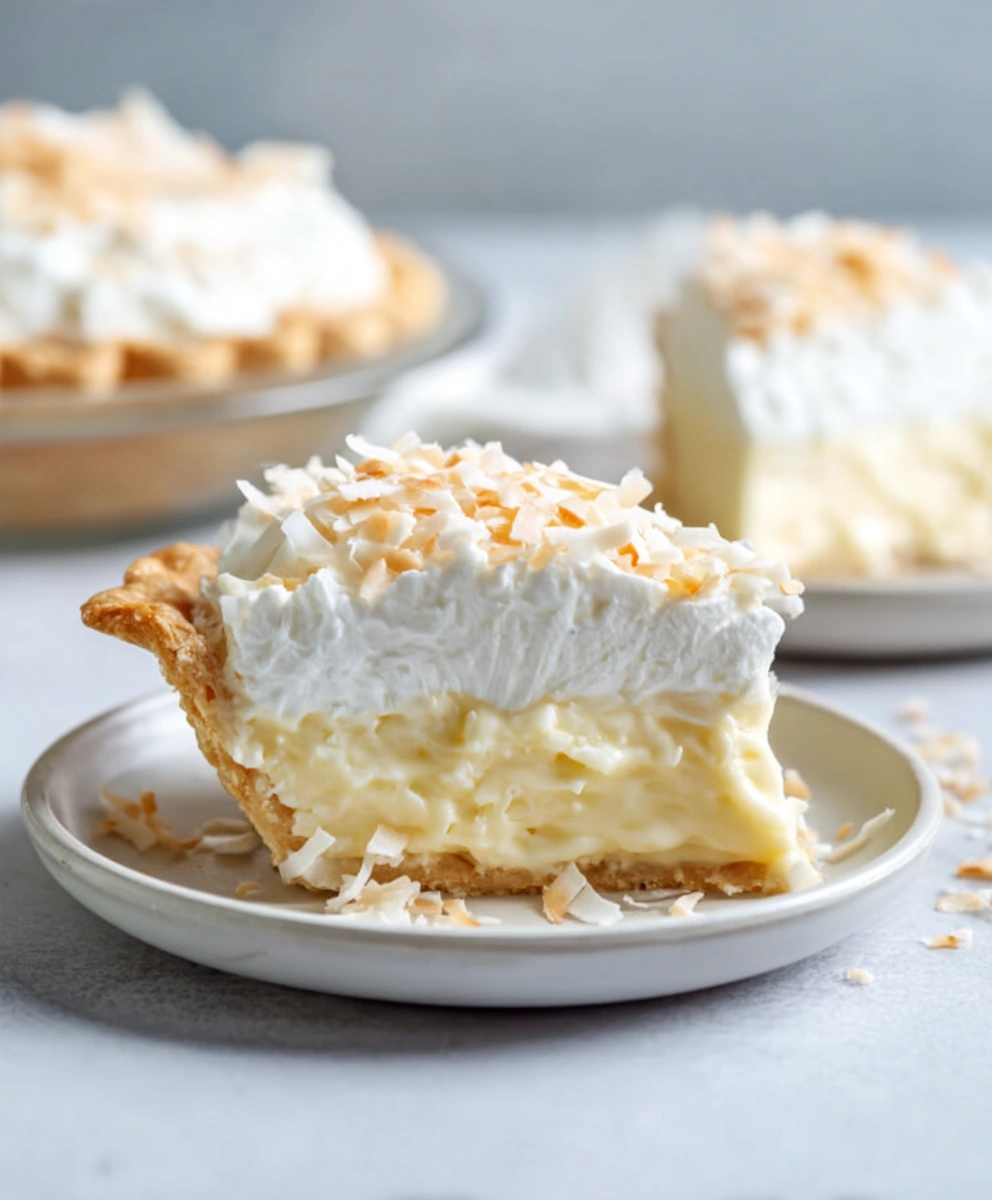
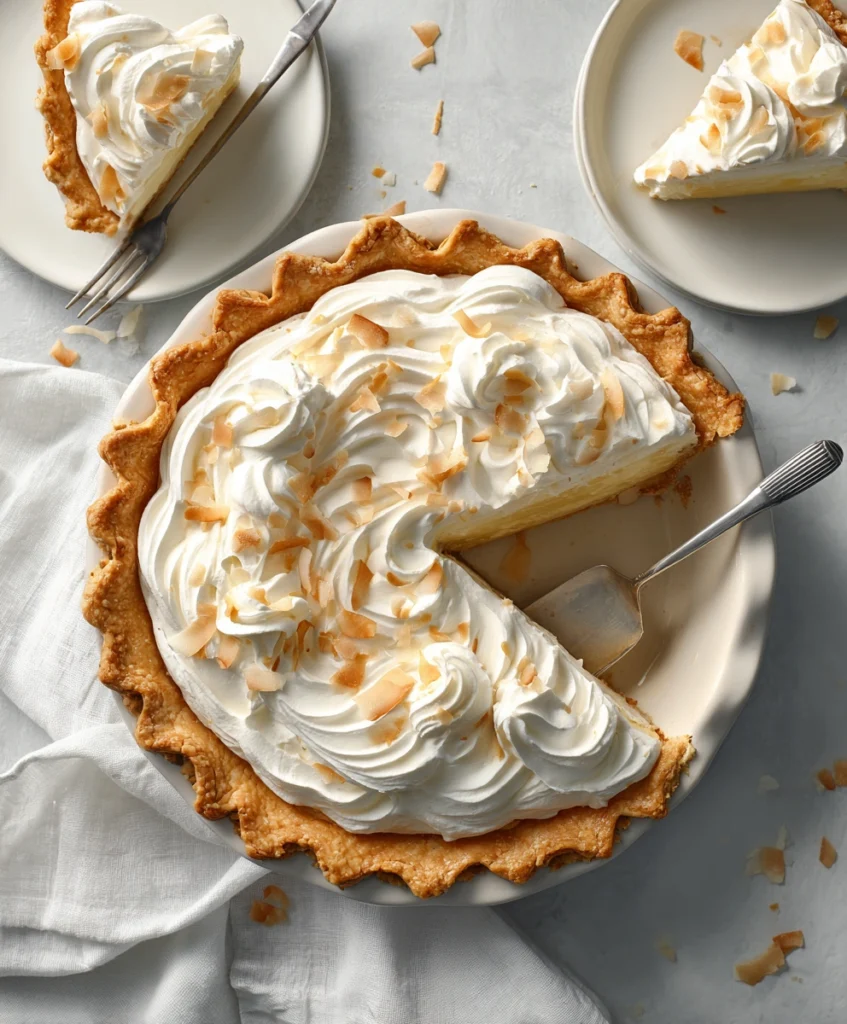
If you love creamy desserts with a rich tropical flavor, Coconut Cream Pie is one of those timeless recipes you’ll want to make again and again. It’s made with a baked pie crust, filled with a smooth coconut custard, then topped with whipped cream and toasted coconut for the prettiest (and tastiest) finish.
This version is beginner-friendly, but it tastes like a bakery-style dessert.
Why You’ll Love This Coconut Cream Pie
- Ultra creamy filling with real coconut flavor
- Perfect texture: thick, sliceable, not runny
- Make-ahead friendly (great for gatherings)
- Simple ingredients you can find easily
Ingredients You’ll Need
For the pie crust
- 1 9-inch pie crust, baked and fully cooled (homemade or store-bought)
For the coconut custard filling
- 1 can full-fat coconut milk (about 13–14 oz / 400 ml)
- 1 cup whole milk
- 1 cup heavy cream
- ¾ cup granulated sugar
- ¼ cup cornstarch
- 4 large egg yolks
- ¼ teaspoon salt
- 1 tablespoon unsalted butter
- 2 teaspoons vanilla extract
- 1 to 1½ cups sweetened shredded coconut (or unsweetened if you prefer)
For topping (optional but recommended)
- Whipped cream (homemade or store-bought)
- ½ cup shredded coconut, toasted for garnish
Step-by-Step Instructions
Step 1: Bake and cool the crust
- Bake your pie crust until fully cooked and lightly golden (follow the crust package or your recipe).
- Let it cool completely before adding the filling.
Tip: If the crust is warm, it can make the filling too soft.
Step 2: Mix your thickening base
- In a medium bowl, whisk together:
- sugar
- cornstarch
- salt
- Add the egg yolks and whisk until smooth.
- Set aside.
Step 3: Heat the milks and cream
- In a medium saucepan, combine:
- coconut milk
- whole milk
- heavy cream
- Heat over medium heat until it’s hot and steaming (but not boiling).
You’ll see small bubbles around the edges.
Step 4: Temper the egg yolks (important!)
This prevents scrambled eggs.
- Slowly pour about ½ cup of the hot milk mixture into the egg yolk mixture while whisking constantly.
- Then pour another ½ cup in, still whisking.
- Now pour the warmed egg mixture back into the saucepan, whisking the whole time.
Step 5: Cook the custard until thick
- Keep the saucepan on medium heat.
- Whisk constantly until the custard thickens (usually 5–8 minutes).
- Once it starts bubbling gently, keep whisking for 1–2 minutes more so it fully sets.
You want: a thick pudding-like texture that coats the back of a spoon.
Step 6: Finish the flavor and texture
- Remove the pan from heat.
- Stir in:
- butter
- vanilla extract
- Optional but recommended: strain the custard through a fine mesh sieve into a bowl for an extra silky filling.
- Stir in the shredded coconut.
Step 7: Fill the pie crust
- Pour the coconut filling into the cooled pie crust.
- Smooth the top with a spatula.
Step 8: Chill until fully set
- Cover the pie gently (plastic wrap can touch the surface to prevent a skin).
- Refrigerate for at least 4 hours, ideally overnight.
This chilling time is what makes the pie slice cleanly.
Step 9: Toast coconut for garnish (optional but beautiful)
- Add shredded coconut to a dry skillet.
- Toast over medium-low heat, stirring often, until golden.
- Remove immediately (it burns quickly).
Step 10: Top and serve
- Spread or pipe whipped cream over the chilled pie.
- Sprinkle with toasted coconut.
- Slice and enjoy!
Tips for the Best Coconut Cream Pie
- Use full-fat coconut milk for the richest flavor.
- Whisk constantly while cooking the custard to avoid lumps.
- Don’t rush the chill time—this is what makes it firm.
- For a stronger coconut flavor, add an extra ¼–½ cup shredded coconut.
Storage
- Keep the pie covered in the refrigerator for up to 3–4 days.
- Best served within the first 1–2 days for the freshest whipped topping.
- Freezing isn’t ideal because custard can change texture after thawing.