
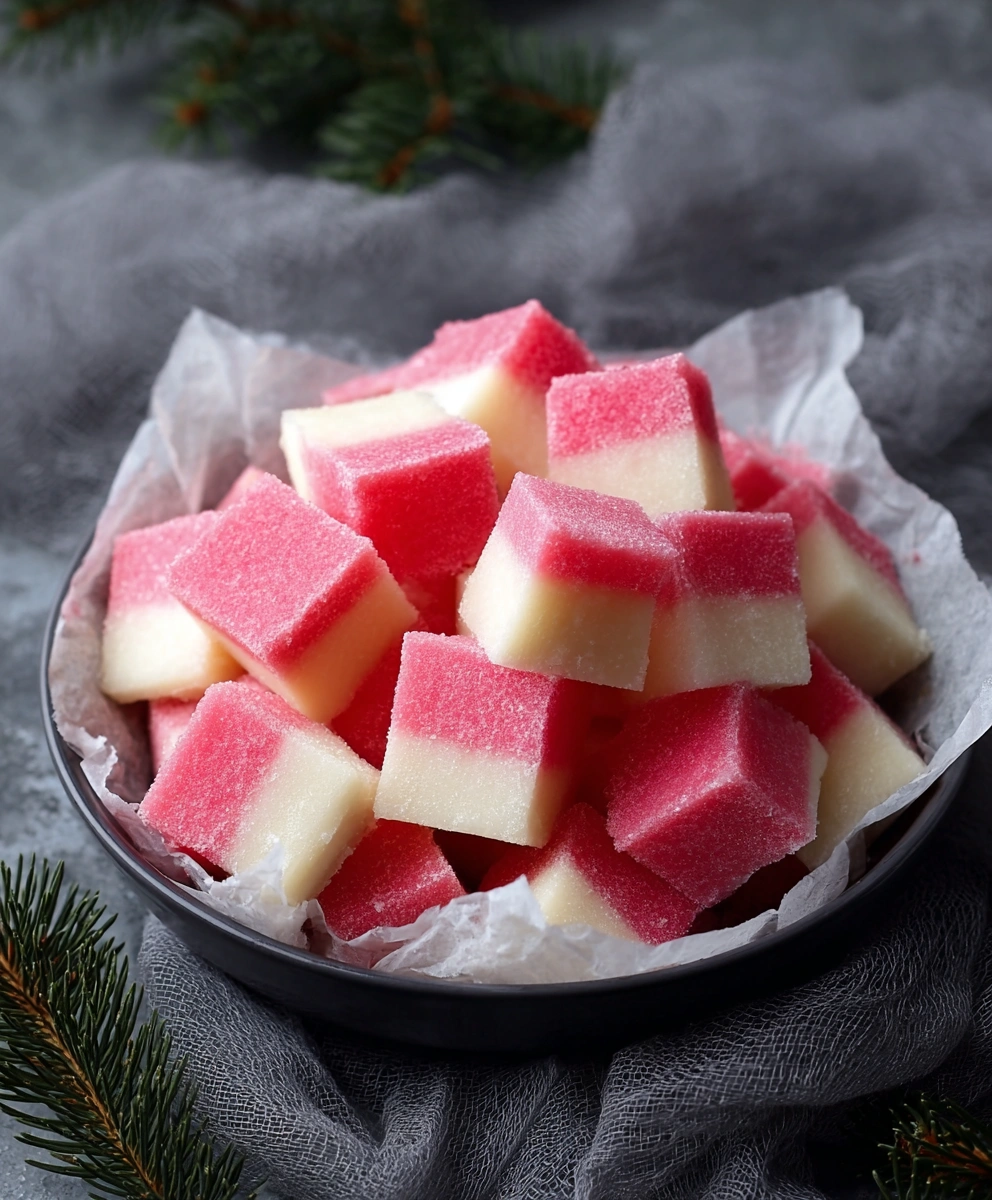
Coconut Ice is a traditional, old-fashioned confectionery famous for its soft, chewy texture and its iconic two-tone layers — usually white and pink. Although originally British, this sweet treat has become popular in many countries, including Australia, New Zealand, South Africa, and India.
Despite its name, Coconut Ice has nothing to do with cold or frozen desserts. Instead, the name refers to its pale, frosted appearance and its melt-in-the-mouth texture. Made with desiccated coconut, sweetened condensed milk, and icing sugar, Coconut Ice is incredibly easy to prepare and requires no cooking, making it the perfect quick treat for holidays, birthdays, parties, and edible gifts.
Ingredients
- 3 ½ cups desiccated coconut
- 1 can (14 oz / 400 g) sweetened condensed milk
- 2 cups icing sugar (confectioner’s sugar), sifted
- ½ teaspoon vanilla extract (optional)
- A few drops of pink or red food coloring (optional)
- Rose, almond, or coconut essence (optional)
How to Make Coconut Ice (No-Cook Method)
1. Prepare the Pan
Line a small square or rectangular baking dish with parchment paper. This makes removing the set mixture much easier.
2. Make the White Layer
- In a mixing bowl, combine half the condensed milk, half the icing sugar, vanilla extract (optional), and half the desiccated coconut.
- Mix until a thick dough-like consistency forms.
- Press this mixture firmly into the prepared pan to create the base white layer.
3. Make the Pink Layer
- In another bowl, mix the remaining condensed milk, icing sugar, and a few drops of food coloring.
- Add the remaining coconut and combine well.
- Press this pink mixture on top of the white layer.
You can adjust the shade of pink depending on how vibrant you want it.
4. Let It Set
Cover the pan with cling film and refrigerate for at least 2–3 hours.
For best results, leave it overnight to firm up completely.
5. Cut Into Squares
Once fully set:
- Lift the block out using the parchment paper
- Trim uneven edges if necessary
- Cut into neat squares, bars, or shapes using a knife or cookie cutters
Why People Love Coconut Ice
Coconut Ice has remained a favorite for generations because:
1. It’s Extremely Easy to Make
Only a handful of ingredients are needed — coconut, condensed milk, and powdered sugar. No stovetop or oven required.
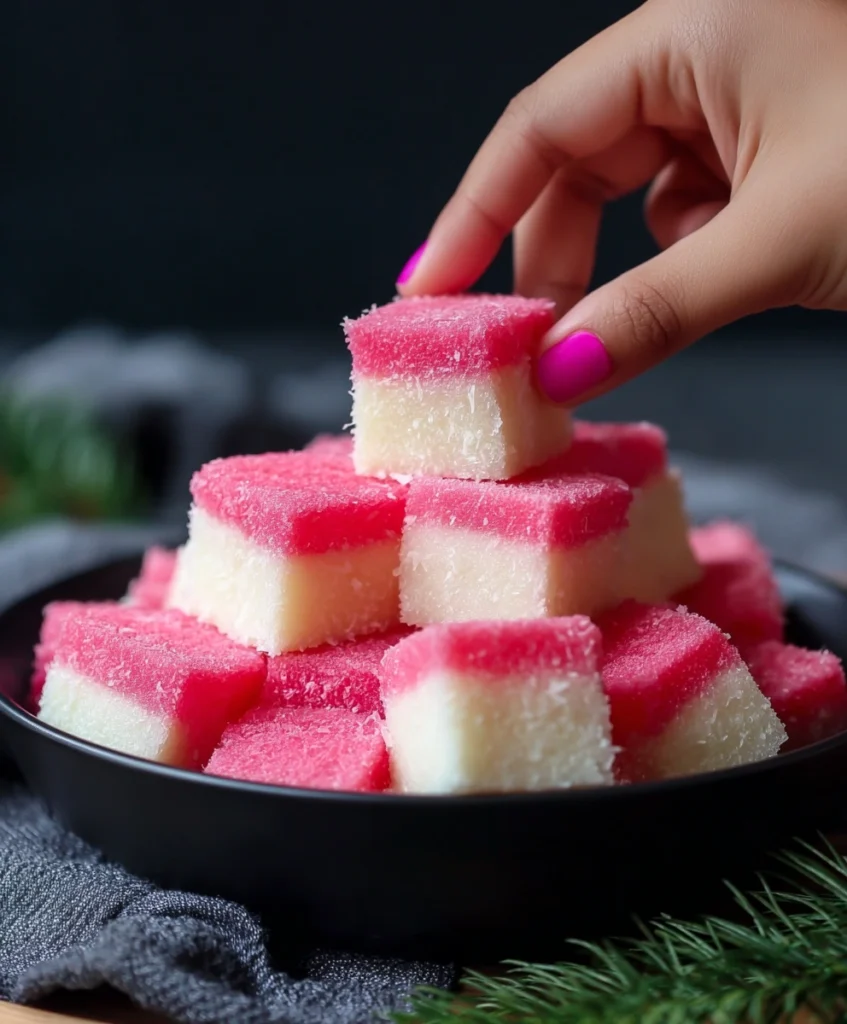
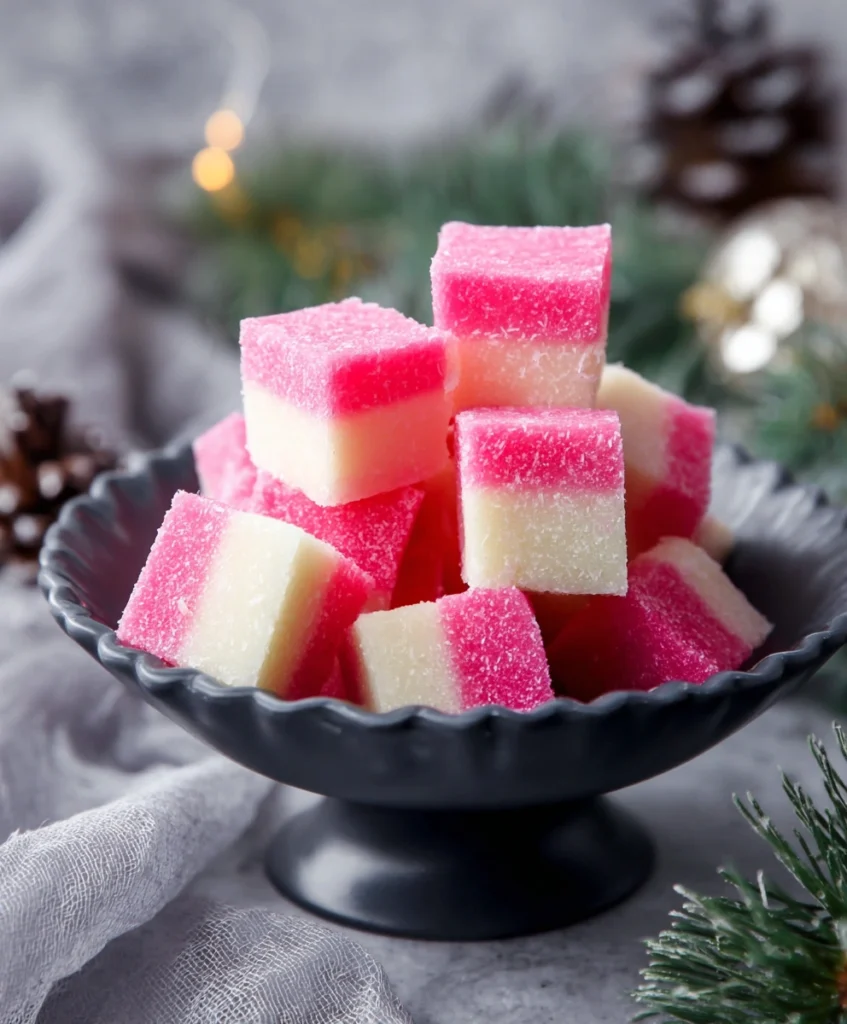
2. It Has a Beautiful, Festive Look
The contrasting layers (usually white and pink) make it visually appealing. It looks elegant on dessert tables and is great for gifting.
3. Perfect for Kids
Children enjoy mixing, layering, and cutting the squares. It’s a fun, safe, no-bake project.
4. Highly Customizable
You can modify the flavor, color, shape, and thickness. You can also add essences like vanilla or rose, or coat the squares with chocolate.
5. Long Shelf Life
Coconut Ice can last weeks when stored properly, making it ideal for planning ahead during busy seasons.
Storage Instructions
Coconut Ice stores very well:
- At room temperature: up to 2 weeks in an airtight container
- In the refrigerator: up to 1 month
- Avoid humidity as it can make the confection soft and sticky
Place parchment paper between layers to prevent sticking.
Tips & Flavor Variations
1. Chocolate-Dipped Coconut Ice
Dip each square halfway in melted dark chocolate for a beautiful contrast.
2. Rose Coconut Ice
Add a few drops of rose essence and a slightly deeper pink color for a floral twist.
3. Almond Coconut Ice
Use almond extract in the white layer for a nutty aroma.
4. Green Pistachio Layer
Replace the pink layer with a green one, flavored with pistachio essence.
5. Peppermint & Christmas Colors
Use green and red layers for a festive Christmas version.
6. Tropical Version
Add pineapple extract and yellow coloring to create a “piña colada” flavor profile.
Troubleshooting
Coconut Ice too sticky?
Add more desiccated coconut or icing sugar.
Too dry or crumbly?
Add a spoon of condensed milk until the texture becomes soft and moldable.
Layers not sticking together?
Gently press the pink layer over the white layer using a flat spatula.
Conclusion
Coconut Ice is a timeless sweet recipe that requires almost no effort yet delivers a delightful result. Its soft, chewy texture and colorful layers make it perfect for celebrations, gifting, or simply satisfying a sweet craving. With endless flavor variations and a simple no-bake method, this recipe is ideal for both beginners and experienced home cooks.