
Coconut Mochi is a delicate Asian-inspired dessert loved for its soft texture, gentle sweetness, and signature chewiness. Made with glutinous rice flour and creamy coconut milk, this bite-sized treat has a smooth, elastic dough wrapped around a sweet filling and coated with shredded coconut. Elegant yet simple, coconut mochi is perfect for tea time, celebrations, or whenever you want a light homemade dessert with a unique texture.
What Is Coconut Mochi?
Mochi is a traditional rice cake made from sweet rice flour, giving it a stretchy and chewy consistency that feels soft and tender when eaten. Coconut mochi is a popular variation that incorporates coconut milk into the dough and rolls the finished pieces in shredded coconut for extra flavor and texture.
Unlike baked desserts, coconut mochi is usually steamed, which keeps it moist and delicate. The result is a dessert that feels light but satisfying, with a slightly creamy taste from the coconut.
Why You’ll Love Coconut Mochi
- Naturally gluten-free when made with sweet rice flour
- Soft, chewy texture that stays fresh longer than many pastries
- Mild sweetness that pairs well with different fillings
- Simple ingredients and easy preparation
- Perfect for elegant dessert platters or homemade gifts
Ingredients
For the Mochi Dough
- 1 cup glutinous rice flour
- 2 tablespoons cornstarch
- 1/3 cup sugar
- 3/4 cup coconut milk
- 1 tablespoon coconut oil or butter
For the Filling
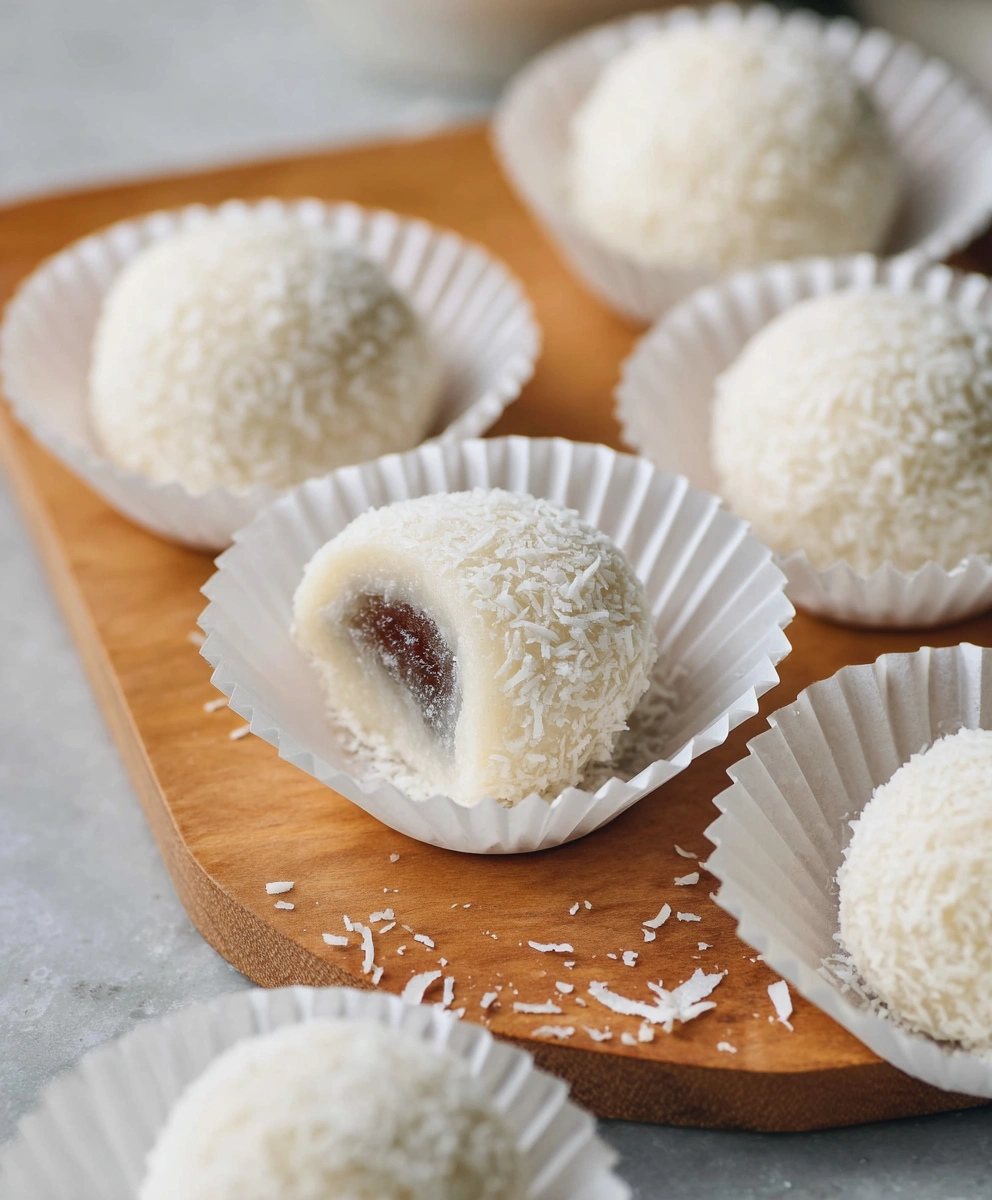
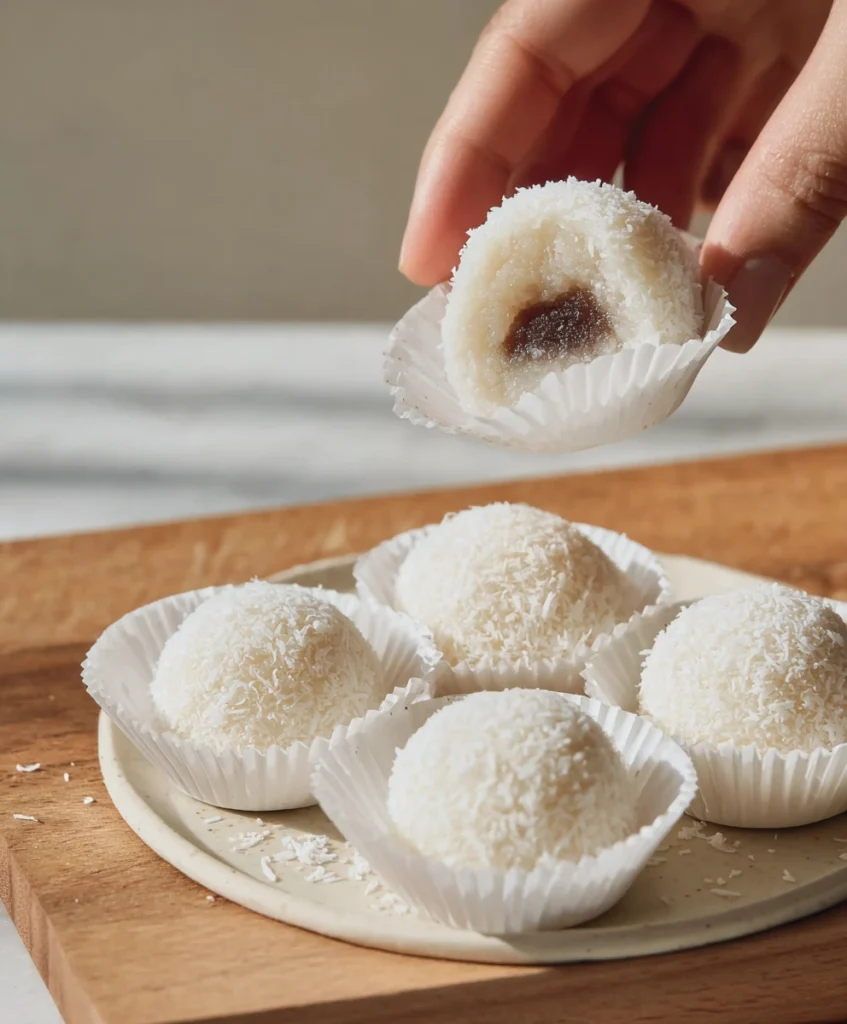
- 1/2 cup sweet red bean paste (or any filling you like)
For Coating
- 1/2 cup unsweetened shredded coconut
Step-by-Step Instructions
Step 1: Prepare the Batter
In a mixing bowl, combine glutinous rice flour, cornstarch, and sugar. Slowly pour in the coconut milk while whisking until you get a smooth batter with no lumps. If needed, strain the mixture to ensure a silky texture.
Step 2: Steam the Dough
Pour the batter into a heatproof dish. Steam over medium heat for about 15–20 minutes, or until the mixture becomes thick, sticky, and fully cooked. The dough should look glossy and slightly translucent.
Step 3: Add Oil and Knead
Carefully remove the dough from the steamer and let it cool slightly until it is warm but safe to handle. Add coconut oil or butter, then knead gently until the dough becomes smooth and elastic. You can lightly oil your hands to prevent sticking.
Step 4: Divide the Dough
Dust your work surface lightly with cornstarch. Divide the mochi dough into small equal pieces. Flatten each piece into a round disc using your fingers or a small rolling pin.
Step 5: Add the Filling
Place a small spoonful of red bean paste in the center of each dough circle. Carefully bring the edges together and pinch to seal, forming a smooth ball.
Step 6: Coat with Coconut
Roll each mochi ball in shredded coconut until fully coated. This step adds flavor and prevents sticking.
Step 7: Serve or Store
Coconut mochi can be served immediately or chilled slightly for a firmer texture. Store leftovers in an airtight container in the refrigerator for up to three days.
Tips for Perfect Coconut Mochi
- Lightly oil your hands or wear gloves to handle sticky dough easily.
- Do not overfill the mochi to avoid tearing.
- If the dough feels too sticky, dust lightly with cornstarch.
- For a softer texture, allow the mochi to come to room temperature before serving.
Flavor Variations
Once you master the basic recipe, you can experiment with different fillings and flavors:
- Fresh mango or strawberry pieces
- Chocolate or hazelnut spread
- Matcha powder mixed into the dough
- Peanut or sesame paste
Final Thoughts
Coconut Mochi is a beautiful balance of softness, chewiness, and gentle coconut flavor. With just a few ingredients and simple steaming techniques, you can create an elegant dessert that feels both traditional and modern. Whether enjoyed with tea or shared with friends, these soft coconut-coated treats bring a unique and comforting sweetness to any occasion.