
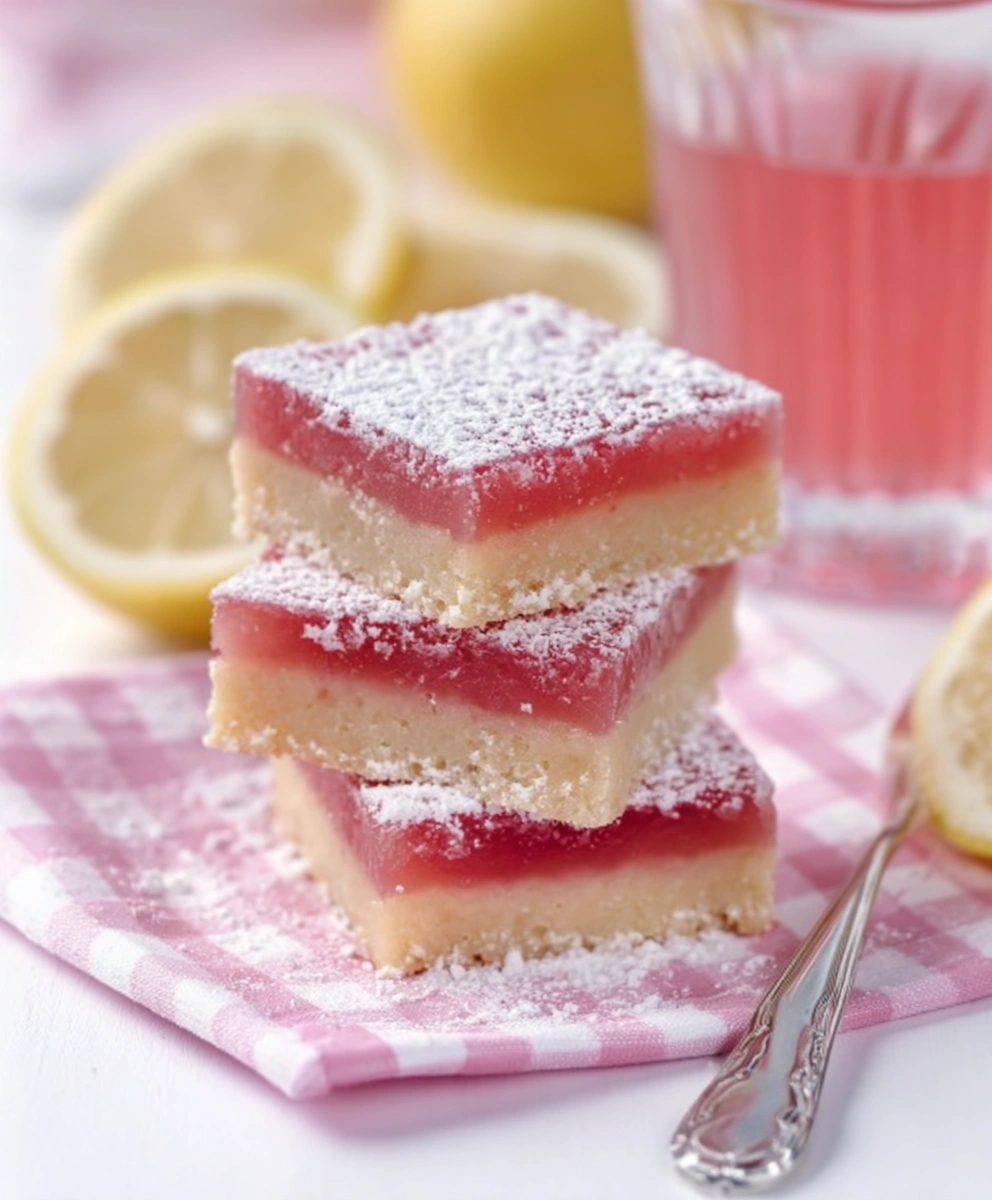
Hibiscus Lemon Bars are a beautiful and refreshing twist on the classic lemon bar. With their vibrant pink color, floral citrus flavor, and buttery shortbread base, these bars are as eye-catching as they are delicious. The addition of hibiscus brings a subtle tartness and a delicate berry-like note that enhances the brightness of the lemon without overpowering it.
This dessert is perfect for spring and summer gatherings, afternoon tea, or whenever you want a dessert that feels light, elegant, and slightly unexpected. Hibiscus, often used in herbal teas around the world, adds both natural color and depth of flavor, turning a familiar treat into something truly special.
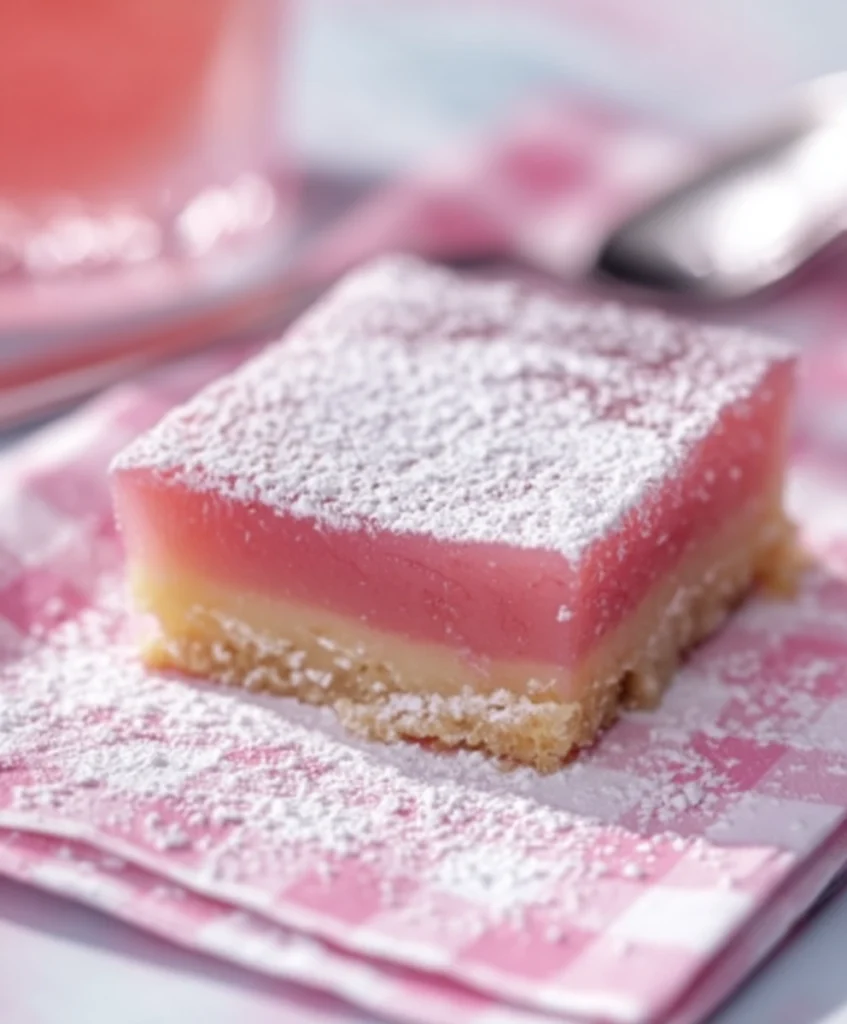
One of the most appealing aspects of Hibiscus Lemon Bars is the balance of textures. The crust is tender and buttery with a slight crispness at the edges, while the filling is smooth, creamy, and pleasantly tangy. As the bars cool, the filling sets into a soft custard-like layer that slices cleanly and holds its shape beautifully.
Ingredients
For the Shortbread Crust
- 1/2 cup unsalted butter, softened
- 1/4 cup granulated sugar
- 1 teaspoon vanilla extract
- 1 cup all-purpose flour
- A pinch of salt
For the Hibiscus Lemon Filling
- 1/2 cup freshly squeezed lemon juice
- 1 tablespoon dried hibiscus flowers or hibiscus tea
- 3 large eggs
- 1 1/2 cups granulated sugar
- 1/2 cup all-purpose flour
For Finishing
- Powdered sugar, for dusting
Step-by-Step Instructions
1. Prepare the Oven and Pan
Preheat the oven to 350°F (175°C). Line a square baking pan with parchment paper, leaving a little overhang on the sides to make removing the bars easier later. Lightly grease the parchment if desired.
2. Make the Shortbread Crust
In a mixing bowl, cream together the softened butter and sugar until smooth and pale. Add the vanilla extract and mix well. Stir in the flour and salt until a soft dough forms.
Press the dough evenly into the bottom of the prepared pan, making sure it reaches all corners. Place the pan in the refrigerator for about 15 minutes to help the crust hold its shape during baking.
Bake the crust for approximately 15 minutes, or until it looks lightly golden around the edges. Remove from the oven and set aside to cool slightly.
3. Infuse the Lemon Juice with Hibiscus
While the crust is baking, combine the lemon juice and dried hibiscus in a small bowl. Let the mixture steep for about 15 minutes. During this time, the hibiscus will release its deep color and gently floral flavor into the lemon juice.
After steeping, strain the mixture through a fine sieve to remove the hibiscus solids. The infused lemon juice should have a vibrant pink hue.
4. Prepare the Filling
In a large bowl, whisk the eggs and sugar together until well combined and smooth. Slowly add the hibiscus-infused lemon juice while whisking. Sprinkle in the flour and mix until the filling is fully blended and free of lumps.
5. Bake the Bars
Carefully pour the filling over the partially baked crust, spreading it evenly. Return the pan to the oven and bake for 20 to 25 minutes, or until the filling is set and no longer jiggles in the center.
Remove the pan from the oven and allow the bars to cool completely at room temperature. For best results, refrigerate for at least 1 hour before slicing.
6. Finish and Serve
Once fully cooled, dust the top generously with powdered sugar. Lift the bars out of the pan using the parchment paper, then cut into squares or rectangles.
Serving and Storage Tips
Hibiscus Lemon Bars can be served chilled or at room temperature, depending on your preference. Chilling gives them a firmer texture and a more refreshing bite, while room temperature brings out more of the floral notes.
Store leftover bars in an airtight container in the refrigerator for up to four days. If stacking the bars, place parchment paper between layers to prevent sticking.
Why You’ll Love This Recipe
- The hibiscus adds natural color without food coloring
- The flavor is bright, tangy, and lightly floral
- The recipe is simple but feels elegant
- Perfect for parties, brunches, or afternoon tea