
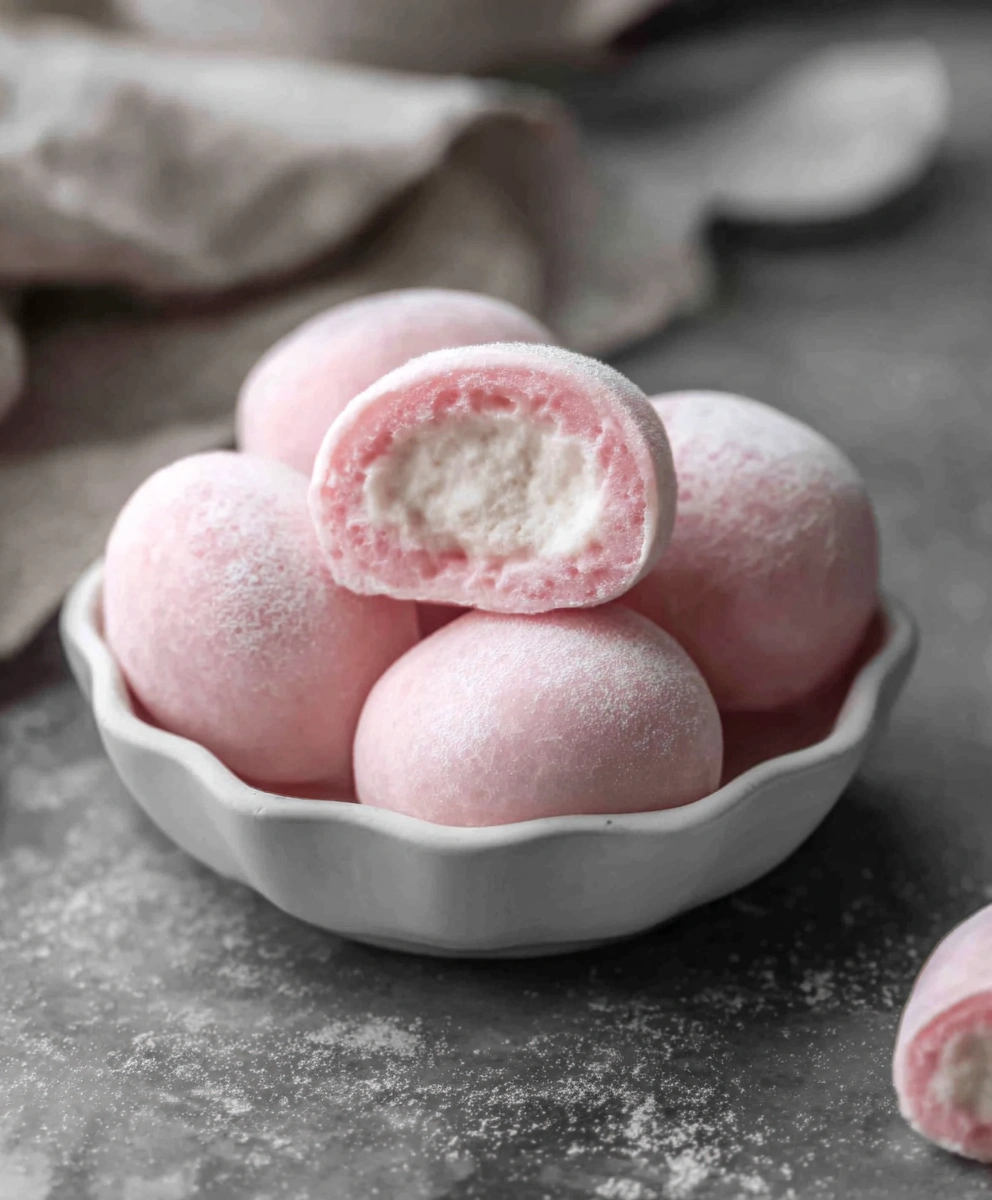
Mochi Ice Cream is a popular Japanese-inspired dessert that combines creamy ice cream with a soft and chewy rice dough. This bite-sized treat is loved for its unique texture — slightly stretchy on the outside and cold, smooth, and sweet on the inside. While it may look complicated, making mochi ice cream at home is surprisingly simple with the right technique.
Whether you want to create elegant desserts for guests or add a trendy recipe to your blog, homemade mochi ice cream is fun, customizable, and visually beautiful.
What Is Mochi Ice Cream?
Mochi is a traditional Japanese rice cake made from glutinous rice flour. When used to wrap ice cream, it creates a delicate shell that holds the frozen filling while remaining soft and flexible. The contrast between chewy dough and creamy ice cream makes every bite satisfying and unique.
Today, mochi ice cream comes in many flavors such as matcha, mango, chocolate, vanilla, strawberry, and pistachio. You can also experiment with colors and fillings to match your personal style or brand aesthetic.
Ingredients
For the Mochi Dough
- 1 cup sweet rice flour (glutinous rice flour)
- 1 cup water
- 1/4 cup granulated sugar
- Cornstarch or potato starch (for dusting and preventing sticking)
For the Filling
- 1 pint ice cream of your choice (vanilla, chocolate, strawberry, matcha, pistachio, etc.)
Step-by-Step Instructions
Step 1: Prepare the Ice Cream Scoops
- Line a tray with parchment paper.
- Using a small ice cream scoop, form round balls of ice cream.
- Place them on the tray and freeze for at least 1–2 hours until completely firm.
Freezing the ice cream first is essential because it helps keep its shape while wrapping the mochi.
Step 2: Make the Mochi Dough
- In a microwave-safe bowl, whisk together the sweet rice flour, sugar, and water until smooth.
- Cover loosely and microwave for about 1 minute.
- Stir well, then microwave again for another minute.
- Mix once more and microwave a final time until the dough looks thick, glossy, and slightly translucent.
The dough should be sticky but smooth — this is the signature texture of mochi.
Step 3: Roll the Dough
- Sprinkle cornstarch generously over a clean surface.
- Transfer the warm mochi dough onto the starch.
- Dust the top lightly and roll it out into a thin layer, about 1/8 inch thick.
- Allow it to cool slightly, then cut circles using a round cutter or glass.
Keeping the dough thin helps prevent it from becoming too chewy after freezing.
Step 4: Wrap the Ice Cream
- Place one frozen ice cream scoop in the center of a mochi circle.
- Gently stretch the edges of the dough over the ice cream.
- Pinch the seams together to seal.
- Wrap each piece in plastic wrap to hold its shape.
Work quickly during this step so the ice cream stays frozen.
Step 5: Freeze Again
Place the wrapped mochi ice cream pieces back into the freezer for at least 1 hour before serving. This allows the dough to firm up while keeping its soft texture.
Tips for Perfect Mochi Ice Cream
- Always dust generously with cornstarch to avoid sticking.
- If the dough becomes too soft, chill it briefly before shaping.
- Let mochi ice cream sit at room temperature for 1–2 minutes before eating so the texture becomes tender and enjoyable.
- Use small scoops for easier wrapping and a more elegant presentation.
Flavor Variations
You can customize mochi ice cream endlessly:
- Add matcha powder or cocoa powder to the dough for color and flavor.
- Use fruit sorbets for a lighter version.
- Try pistachio, mango, coffee, or coconut ice cream for a modern twist.
- Tint the dough with natural food coloring for aesthetic dessert photos.
Why You’ll Love This Recipe
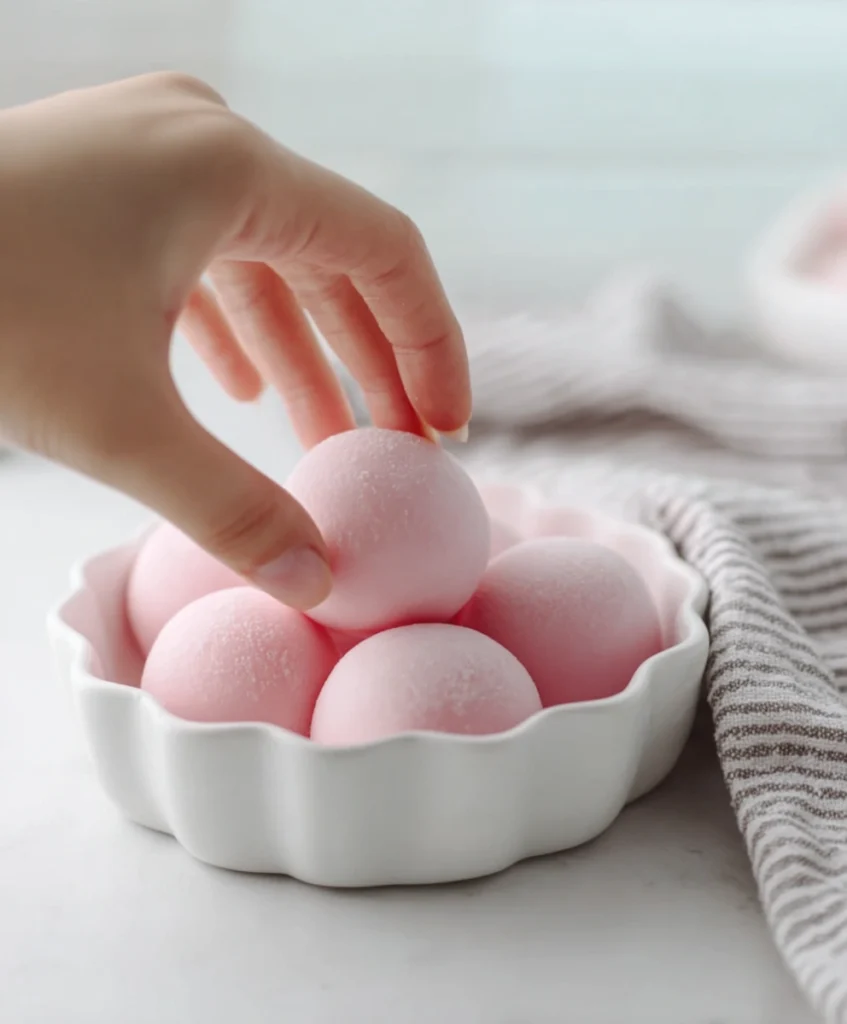
Homemade mochi ice cream is not only delicious but also visually stunning. The smooth, pastel-colored dough and creamy center make it perfect for social media, elegant dessert tables, or unique recipe content. Once you learn the basic technique, you can create countless variations that match your creative style.