
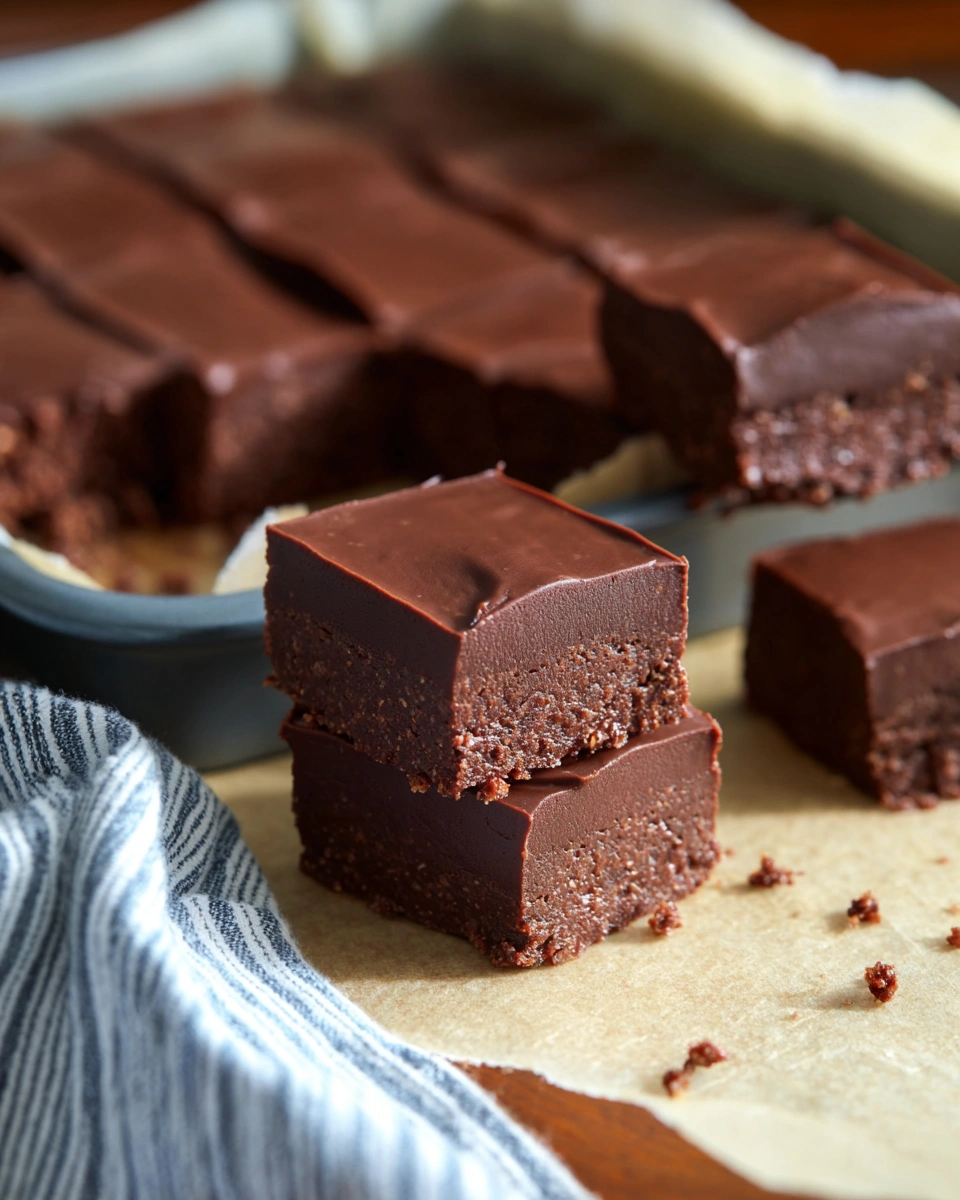
If you want a dessert that tastes like a deep, chocolatey brownie but takes zero baking, this no-bake vegan brownie is the one to try. It’s naturally sweetened, dairy-free, egg-free, and made with simple pantry ingredients. The texture is dense, fudgy, and chewy, and the optional chocolate topping makes it feel extra indulgent.
These brownies are perfect for:
- quick desserts
- meal-prep snacks
- healthy-ish sweet cravings
- hot days when you don’t want to use the oven
Ingredients
Brownie Base
- 1 ½ cups (150 g) walnuts or pecans (or a mix)
- 1 ½ cups (240–260 g) soft Medjool dates, pitted (about 12–14 dates)
- ½ cup (45–50 g) unsweetened cocoa powder (or cacao powder)
- 1 tsp vanilla extract
- ¼ tsp sea salt
- 1–2 tbsp plant milk (almond/oat/soy), only if needed to help blending
Optional Chocolate Topping (Highly Recommended)
- ⅓ cup (80 ml) melted coconut oil
- ¼ cup (20–25 g) unsweetened cocoa powder
- 2–3 tbsp maple syrup (adjust to taste)
- ½ tsp vanilla extract
- Pinch of sea salt
Optional Add-Ins
- 2 tbsp mini dairy-free chocolate chips
- 2 tbsp shredded coconut
- 2 tbsp chopped nuts for topping
Equipment
- Food processor (best results)
- 8×8 inch (20×20 cm) pan
- Parchment paper
Step-by-Step Instructions
Step 1: Prep the pan
Line an 8×8 inch pan with parchment paper, leaving extra paper hanging over the sides so you can lift the brownies out easily.
Step 2: Process the nuts
Add the walnuts/pecans to a food processor. Pulse until they look like a coarse crumb (not nut butter).
Step 3: Add cocoa + salt
Add the cocoa powder and sea salt. Pulse again to combine.
Step 4: Add dates + vanilla
Add the pitted dates and vanilla extract. Process until the mixture becomes sticky and starts clumping together.
Texture test: pinch some mixture between your fingers — it should hold together easily.
- If it’s too dry: add 1 tbsp plant milk, pulse, then test again.
- If it’s too wet: add a small handful of nuts and pulse.
Step 5: Press into the pan
Transfer the brownie mixture to your lined pan. Press firmly with your hands or the bottom of a glass until the surface is smooth and compact.
Step 6 (Optional): Make the chocolate topping
In a bowl, whisk together:
- melted coconut oil
- cocoa powder
- maple syrup
- vanilla
- pinch of salt
Mix until glossy and smooth.
Step 7: Spread topping
Pour the topping over the brownie base and spread evenly with a spoon/spatula.
(Optional: sprinkle chopped nuts or chocolate chips on top.)
Step 8: Chill until firm
- Freezer: 45–90 minutes (fastest)
- Fridge: 2–3 hours
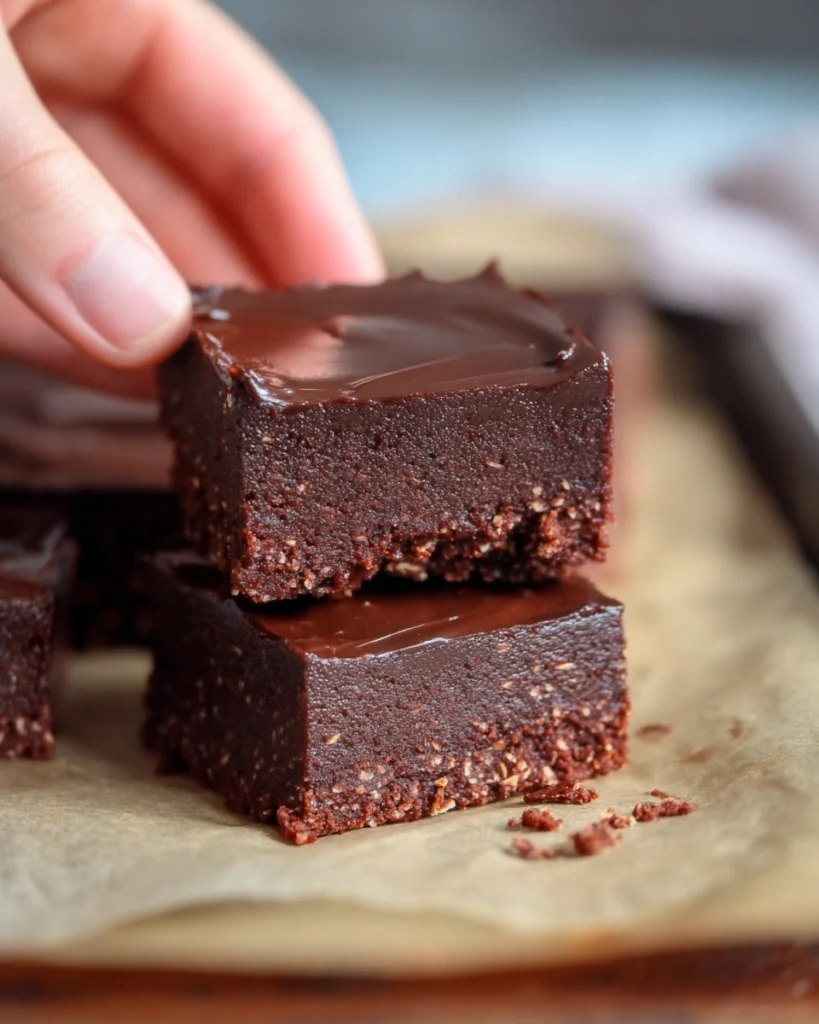
Step 9: Slice and enjoy
Lift the brownies out using the parchment paper. Slice into squares with a sharp knife.
Pro tip for clean cuts: run the knife under hot water, wipe dry, then slice.
Storage Tips
- Fridge: store in an airtight container for up to 5–7 days
- Freezer: store for up to 1 month (thaw 5–10 minutes before eating)
Easy Variations
- Extra fudgy: add 2 tbsp melted dark chocolate into the topping
- Mocha: add 1 tsp instant coffee to the base
- Peanut butter swirl: drizzle peanut butter over the topping before chilling
- Protein boost: add 1–2 tbsp vegan protein powder (may need a splash more plant milk)