
Pickled garlic is a delicious way to preserve fresh garlic cloves while mellowing their strong flavor and adding a tangy, savory twist. Whether you love garlic on its own or want a bright, flavorful condiment for salads, sandwiches, or charcuterie boards, making pickled garlic at home is easy and rewarding.
Why Pickle Garlic?
Pickled garlic has a much milder taste than raw garlic and is easier to enjoy straight from the jar. The vinegar brine preserves the garlic and adds a tang that pairs well with many dishes. It also stores well in the refrigerator for several months, making it a great pantry staple.
Basic Pickled Garlic – What You’ll Need
Most pickled garlic recipes follow a similar formula of garlic, vinegar, salt, and a few spices. Here’s a basic overview of ingredients you’ll see in many recipes:
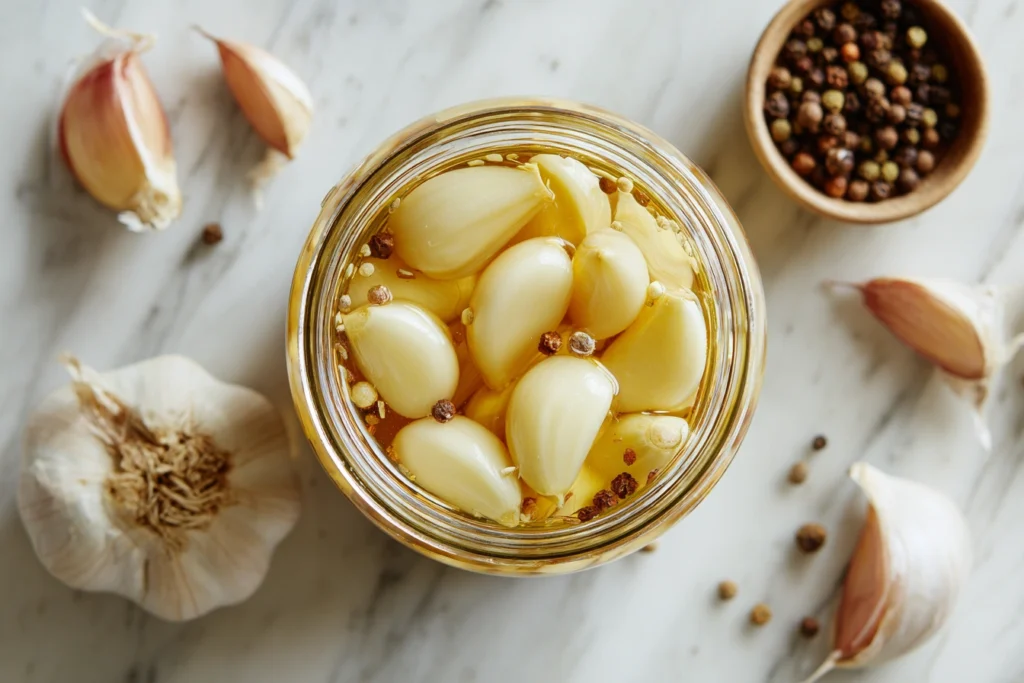
- Fresh garlic cloves, peeled (the star ingredient)
- Vinegar – usually white or apple cider vinegar for acidity
- Water (often mixed with vinegar for balance)
- Salt (pickling or kosher, not iodized)
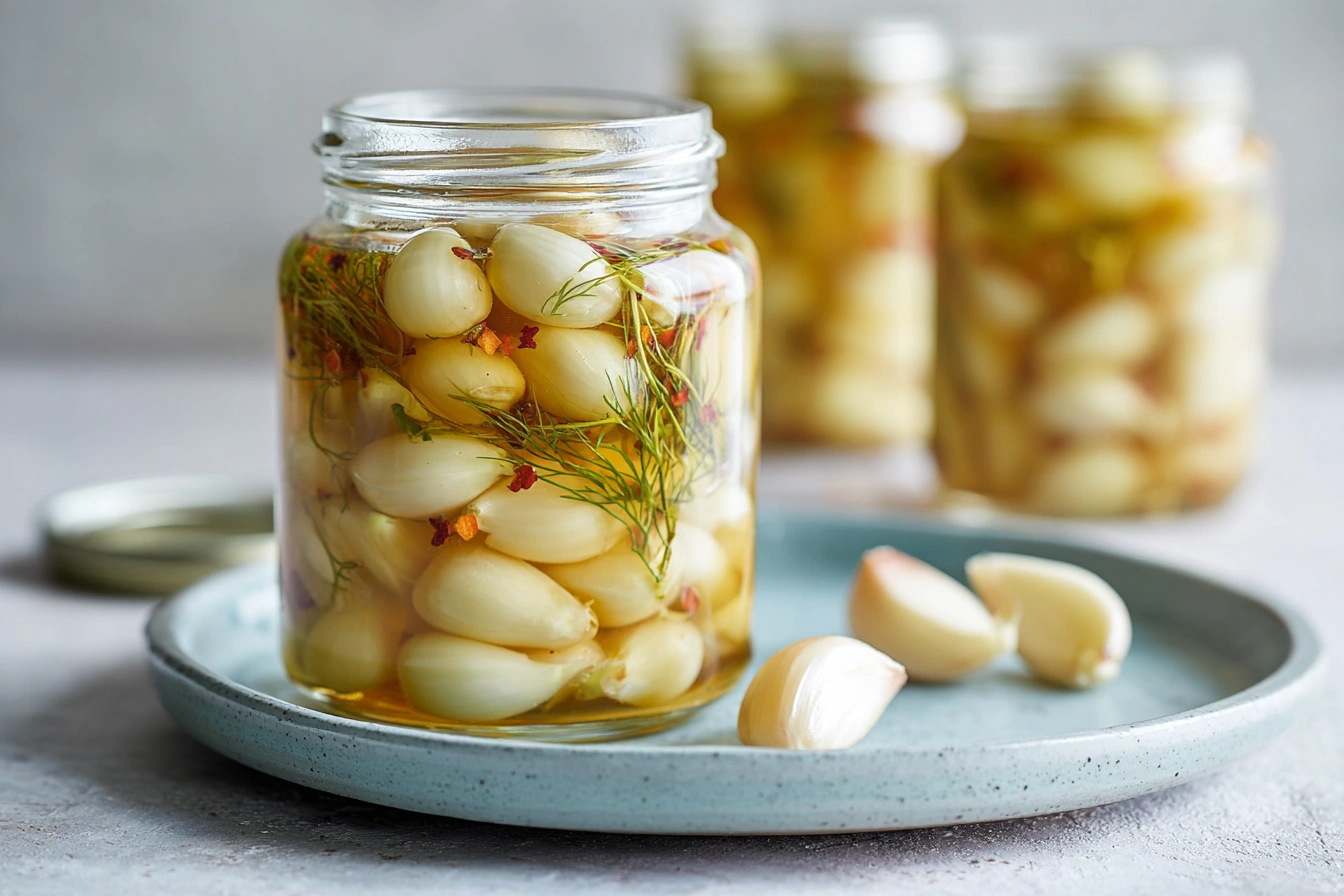
- Optional spices like black peppercorns, mustard seeds, bay leaves, or dill for extra flavor
- Sugar in some recipes to balance the acidity
Step-by-Step Instructions
While specific quantities vary, the general process is the same across most pickled garlic recipes:
- Prepare the Garlic: Peel fresh garlic cloves. Some cooks recommend blanching cloves for a short time in boiling water to help them release their skins more easily.
- Sterilize the Jars: Wash clean glass jars and lids in hot soapy water and dry them thoroughly.
- Make the Brine: In a saucepan, combine vinegar, water, salt, and any spices you’re using. Heat until the salt dissolves and the brine gently simmers.
- Pack the Jars: Pack peeled garlic into the jars, leaving about ½ inch of headspace at the top.
- Pour Brine Over Garlic: Pour the hot brine into the jars, making sure the cloves are completely submerged.
- Cool and Refrigerate: Wipe the jar rims clean, seal with lids, and let cool to room temperature. Refrigerate right away. Pickled garlic usually needs at least a week to develop flavor, and often improves in taste if left for 2–3 weeks before eating.
Tips and Variations
- Don’t Can for Pantry Storage: Most homemade pickled garlic recipes are meant for refrigerator storage only, not shelf-stable canning. Vinegar alone might not be sufficient for safe long-term pantry storage without specialized canning methods.
- Try Different Vinegars: Apple cider vinegar can add a fruity twist, while white vinegar gives a classic tang.
- Spice It Up: Adding herbs like dill or bay leaf and spices such as peppercorns or mustard seeds can enhance aroma and depth of flavor.
- Color Changes are Normal: Garlic sometimes turns blue or green when pickled — a harmless chemical reaction, and the garlic is still safe to eat.
How to Use Pickled Garlic
Pickled garlic is versatile! Enjoy it straight from the jar as a snack, mince it into dressings or marinades, add it to roasted vegetables, or use it to garnish meats and sandwiches. Its mellow tang elevates many dishes where raw garlic might be too intense.