
Recipe Description
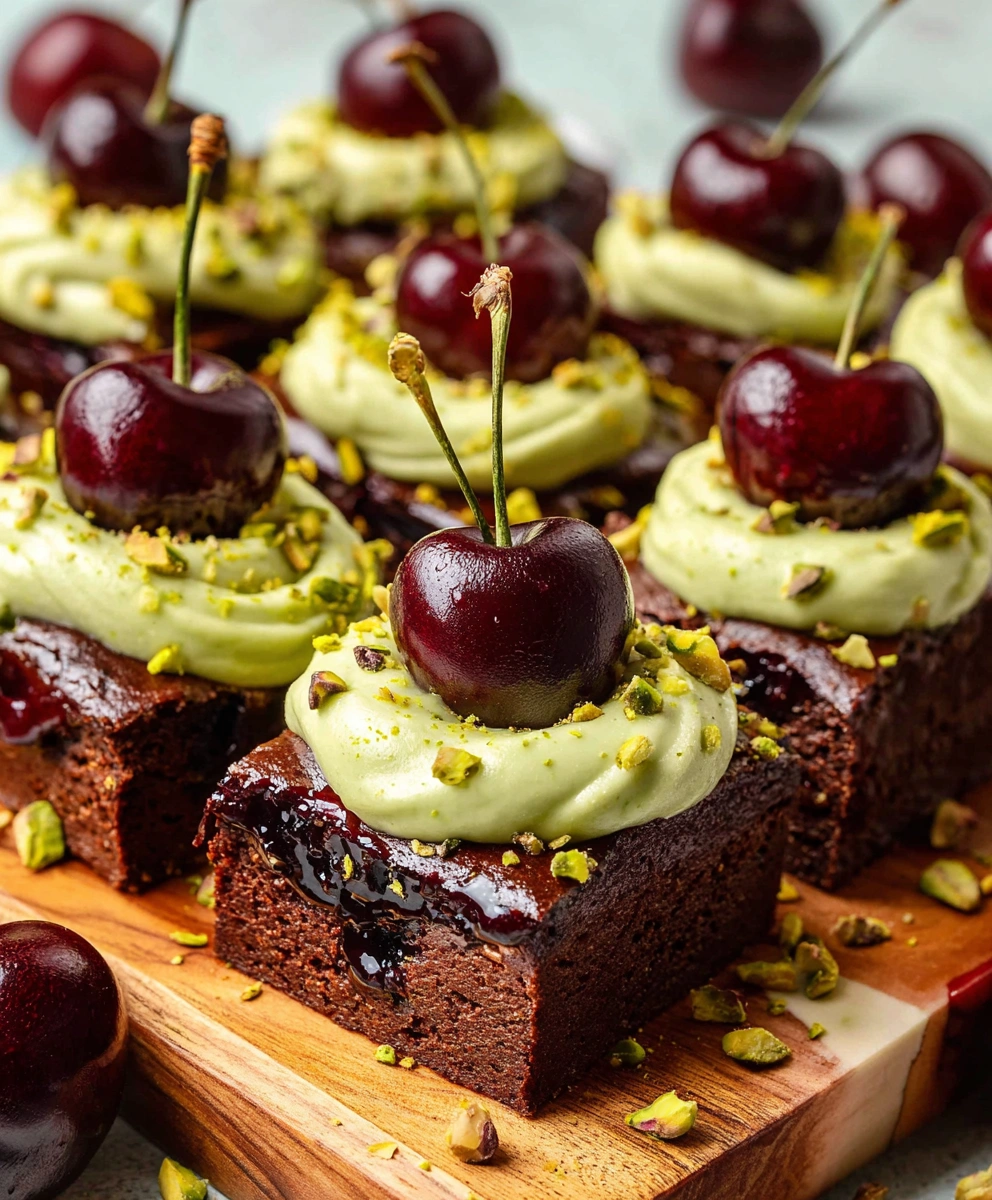
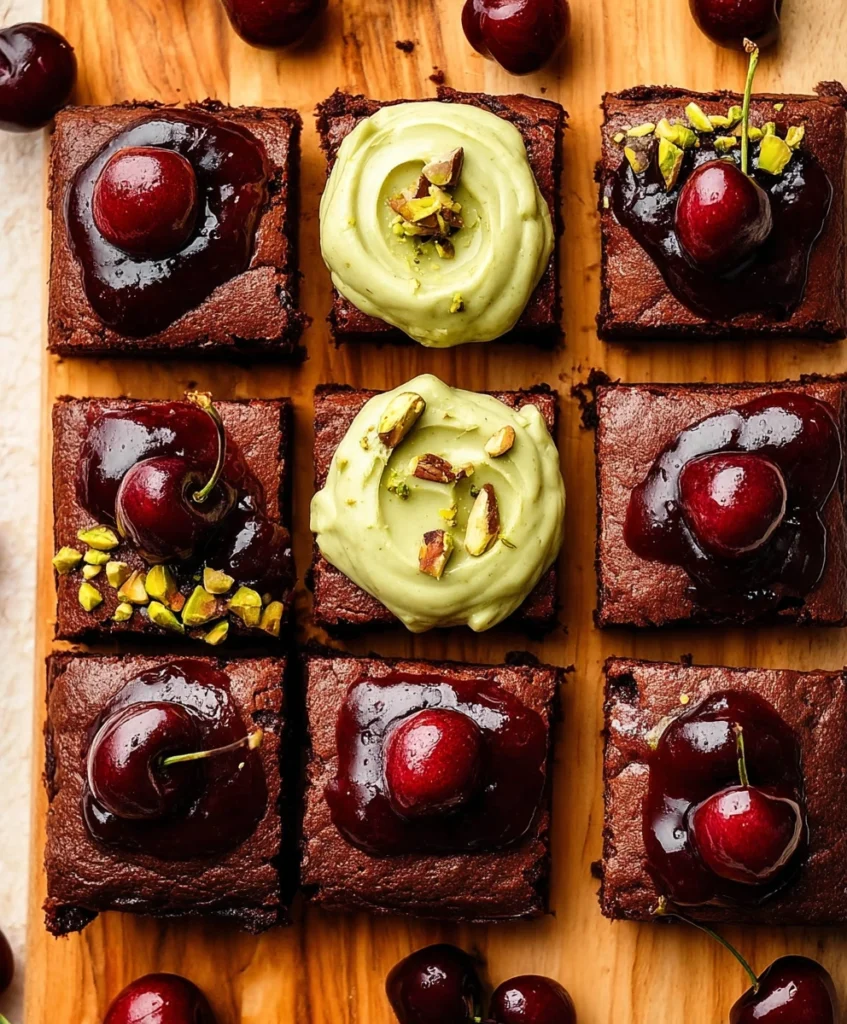
Rich, indulgent, and visually stunning, Pistachio Cherry Cheesecake Brownies are the kind of dessert that turn heads and satisfy every craving in one bite. These decadent treats feature a buttery biscuit base, a fudgy dark chocolate brownie layer, swirls of pistachio cheesecake, and a luscious cherry topping. The layers are not just beautiful to look at — they offer a perfect balance of textures and flavors: nutty, tart, sweet, and creamy. Whether you’re baking for a celebration, a special occasion, or just want to treat yourself, this recipe is sure to impress.
Ingredients
For the biscuit base:
- 200 g digestive biscuits (or graham crackers), crushed
- 85 g unsalted butter, melted
For the brownie layer:
- 160 g unsalted butter
- 170 g dark chocolate (50–60% cocoa), chopped
- 200 g caster sugar
- 60 g light brown sugar
- 3 medium eggs
- 1 tablespoon vanilla extract
- 160 g all-purpose flour
- 40 g cocoa powder
- ¼ teaspoon salt
- Optional: 60 g extra dark chocolate chunks for topping
For the pistachio cheesecake swirl:
- 230 g full-fat cream cheese, softened
- 80 g caster sugar
- 1 medium egg
- 1 teaspoon vanilla extract
- 1 heaped tablespoon all-purpose flour
- 10 tablespoons pistachio spread or pistachio cream
For the topping:
- 1 can (about 400 g) cherry pie filling or cherry compote
- A handful of crushed pistachios, for garnish
Instructions
- Preheat the oven to 170°C (fan) / 340°F. Line a 20×20 cm (8×8 inch) brownie tin with baking paper.
- Make the base:
- In a mixing bowl, combine the crushed biscuits with the melted butter.
- Stir until evenly coated, then press the mixture firmly into the base of the prepared tin.
- Set aside while you make the brownie batter.
- Prepare the brownie layer:
- In a microwave or using a double boiler, melt the butter and chopped dark chocolate together. Stir until smooth.
- Let the chocolate mixture cool slightly.
- In a separate bowl, whisk together the caster sugar, brown sugar, eggs, and vanilla extract for about 3 minutes until light and fluffy.
- Add the melted chocolate and butter mixture to the eggs and sugar, folding gently to combine.
- Sift in the flour, cocoa powder, and salt. Fold until just combined — do not overmix.
- Assemble the brownie base:
- Spread a little over half of the brownie mixture on top of the biscuit base in the tin. Smooth it out with a spatula.
- Make the cheesecake layer:
- In a medium bowl, beat the cream cheese until smooth.
- Add the sugar, egg, vanilla extract, and flour. Beat until creamy and fully combined.
- Layer the cheesecake and pistachio spread:
- Drop spoonfuls of the cheesecake mixture across the brownie base.
- In between those, drop spoonfuls of the pistachio spread.
- Gently spread the remaining brownie batter over the top, covering the cheesecake and pistachio as much as possible.
- Sprinkle extra dark chocolate chunks on top if desired.
- Bake:
- Place the tin in the preheated oven and bake for 27–35 minutes.
- The top should be set, with the center still slightly wobbly. For a fudgier brownie, lean toward the shorter bake time.
- Cool completely:
- Remove from the oven and allow to cool in the tin.
- Once cooled, spoon the cherry pie filling evenly over the top.
- Sprinkle crushed pistachios on top as garnish.
- Chill before slicing:
- Refrigerate the brownies for at least 1–2 hours for clean slicing.
- Slice into squares and serve.
Nutrition Information (per large piece, approx):
- Calories: 430
- Fat: 20 g
- Carbohydrates: 50 g
- Protein: 5 g
Additional Notes
- For a deeper pistachio flavor, use high-quality pistachio spread made from real nuts — not artificial flavoring.
- You can use fresh cherries or a homemade compote if you prefer to avoid canned filling.
- Store leftovers in an airtight container in the fridge for up to 5 days.
- These brownies freeze well — wrap individual slices tightly and store for up to a month.