
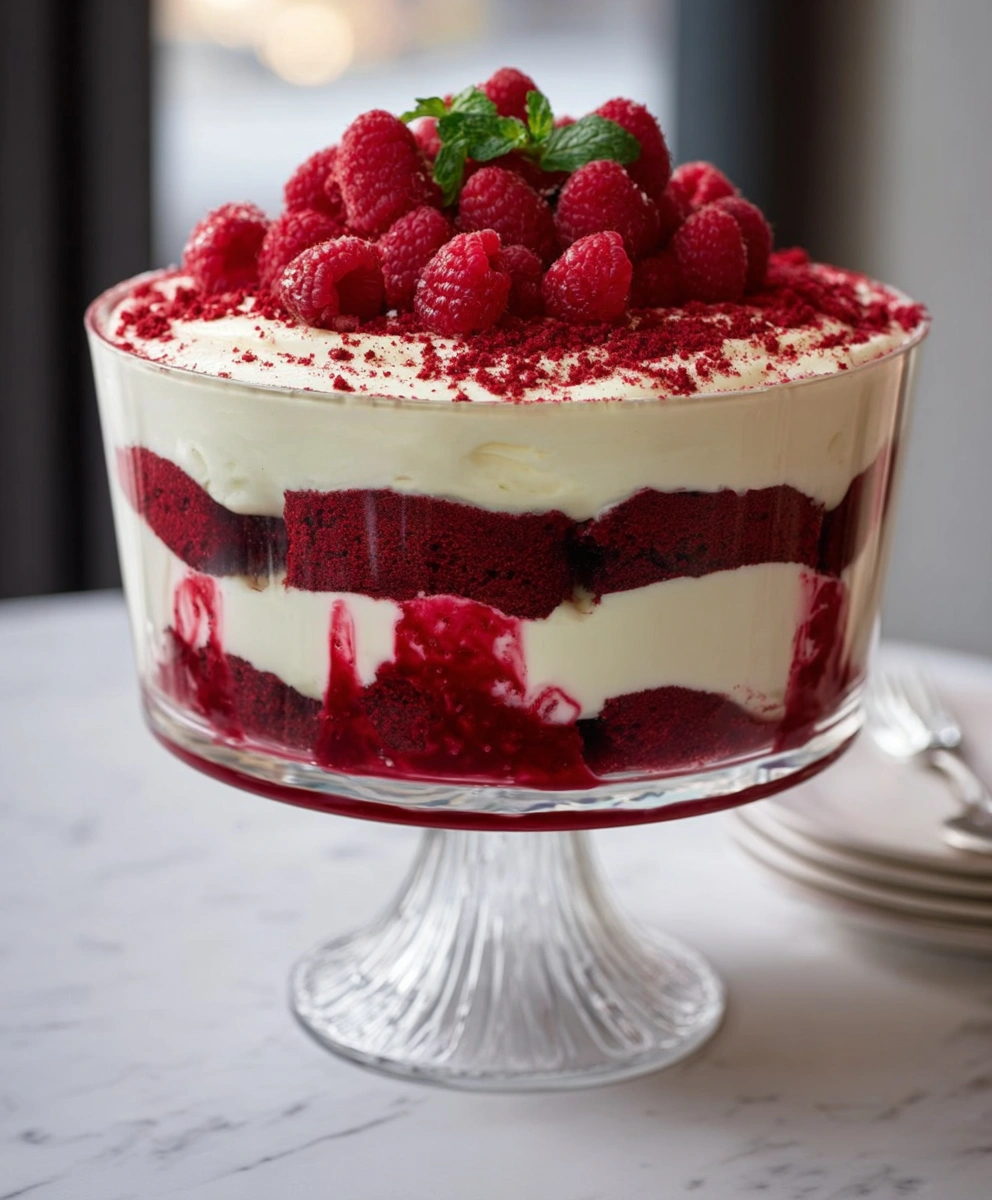
A red velvet trifle is one of those “looks fancy, actually easy” desserts: soft red velvet cake cubes layered with a fluffy cream cheese mousse and finished with pretty toppings. It’s perfect for holidays, birthdays, or when you want a dessert that serves a crowd without complicated decorating.
Why You’ll Love This Dessert
- Big visual impact: those red-and-white layers look stunning in a clear bowl.
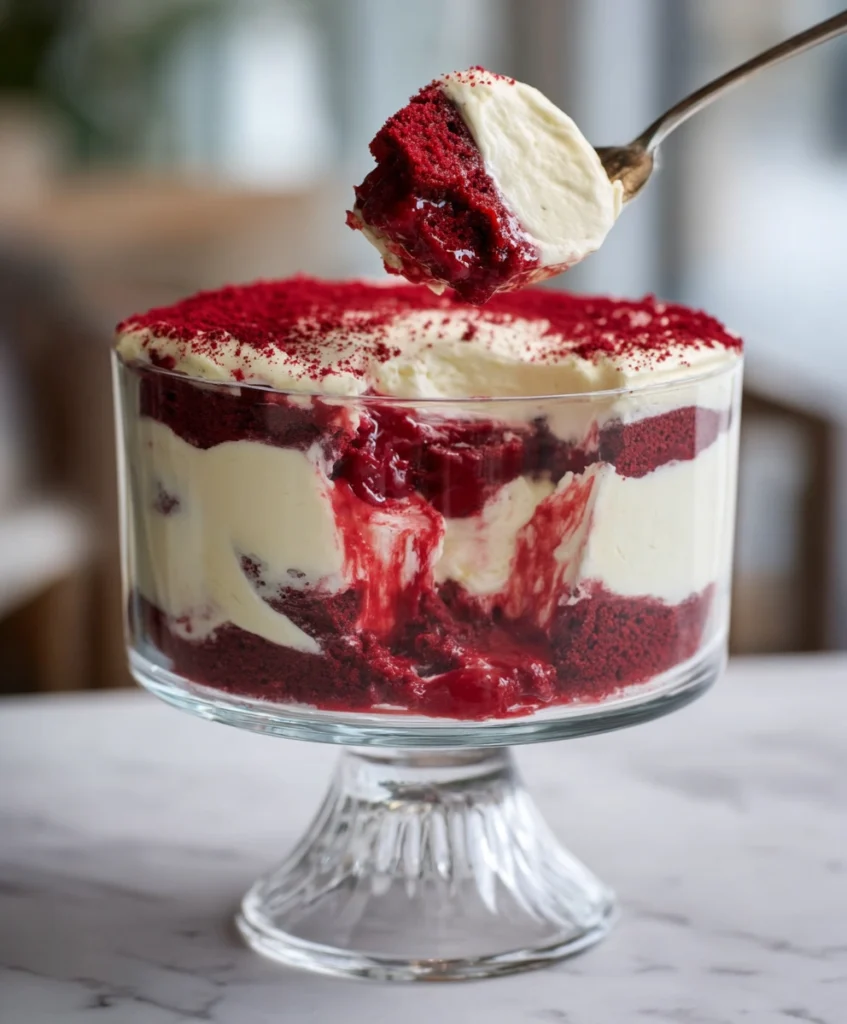
- Great texture contrast: moist cake + airy mousse.
- Make-ahead friendly: tastes even better after chilling.
Ingredients
For the red velvet cake layer
You can use homemade red velvet cake or store-bought.
- About 6–8 cups red velvet cake cubes (from one 8–9 inch cake, or equivalent)
For the cream cheese mousse
- 225 g (8 oz) cream cheese, softened
- 120 g (1 cup) powdered sugar, sifted (adjust to taste)
- 1 tsp vanilla extract
- 240 ml (1 cup) cold heavy whipping cream
- Pinch of salt (optional, but helps balance sweetness)
Optional layers / toppings (choose what you like)
- Whipped cream (extra, for the top)
- Chocolate shavings or mini chocolate chips
- Red velvet crumbs (saved from cake trimming)
- Fresh berries (strawberries/raspberries)
- Crushed cookies (for crunch)
Equipment
- Hand mixer or stand mixer
- Mixing bowls
- Spatula
- Trifle dish or large glass bowl (or individual cups)
Step-by-Step Instructions
Step 1: Prepare the cake
- If using homemade cake, bake it and let it cool completely.
- Cut into 1–2 cm (½–¾ inch) cubes.
- Set aside a handful of crumbs for decoration (optional).
Tip: Slightly firm cake is easier to cube neatly. You can chill it 20–30 minutes before cutting.
Step 2: Make the cream cheese mousse
- In a bowl, beat the softened cream cheese for 1–2 minutes until smooth and creamy.
- Add powdered sugar, vanilla, and (optional) salt. Beat again until fully combined and silky.
- In a separate cold bowl, whip the cold heavy cream until stiff peaks form (it should hold its shape firmly).
- Gently fold the whipped cream into the cream cheese mixture in 2–3 additions using a spatula.
- Fold slowly to keep it airy.
- Stop folding as soon as it looks uniform and fluffy.
Step 3: Assemble the trifle (classic 3-layer repeat)
- Add a layer of red velvet cake cubes to the bottom of your trifle dish.
- Spoon a thick layer of cream cheese mousse over the cake and smooth it gently.
- Repeat: cake → mousse → cake → mousse, until you reach the top.
- Finish with a final mousse layer (or whipped cream if you want a lighter top).
Optional: Add berries or chocolate between layers for extra flavor.
Step 4: Decorate
Top with any combination of:
- Red velvet crumbs
- Chocolate shavings
- Fresh berries
- A swirl of whipped cream
Step 5: Chill (important!)
Refrigerate for at least 4 hours, ideally overnight.
- This helps the layers set and the flavors blend beautifully.
Serving Tips
- Use a large spoon to scoop deep so each serving gets cake + mousse.
- For a clean presentation, wipe the inside of the glass dish with a paper towel before layering.
Make-Ahead + Storage
- Make ahead: Best made 1 day in advance.
- Storage: Cover and refrigerate up to 3 days.
- Freezing: Not recommended (mousse texture can become grainy after thawing).
Easy Variations
- Chocolate lover: Add chocolate chips between layers and top with chocolate curls.
- Berry version: Add sliced strawberries or raspberries between layers.
- Extra tangy: Add 1–2 teaspoons lemon juice to the cream cheese mixture.
- Individual trifles: Assemble in cups for parties—easy, clean, and pretty.
Troubleshooting (Quick Fixes)
- Mousse too runny: Cream may not be whipped to stiff peaks, or cream cheese may be too warm. Chill the mousse 30–60 minutes to help it firm up.
- Lumpy cream cheese: It wasn’t softened enough. Beat longer before adding the cream.
- Cake feels dry: Let the trifle chill longer; the mousse softens the cake over time.