
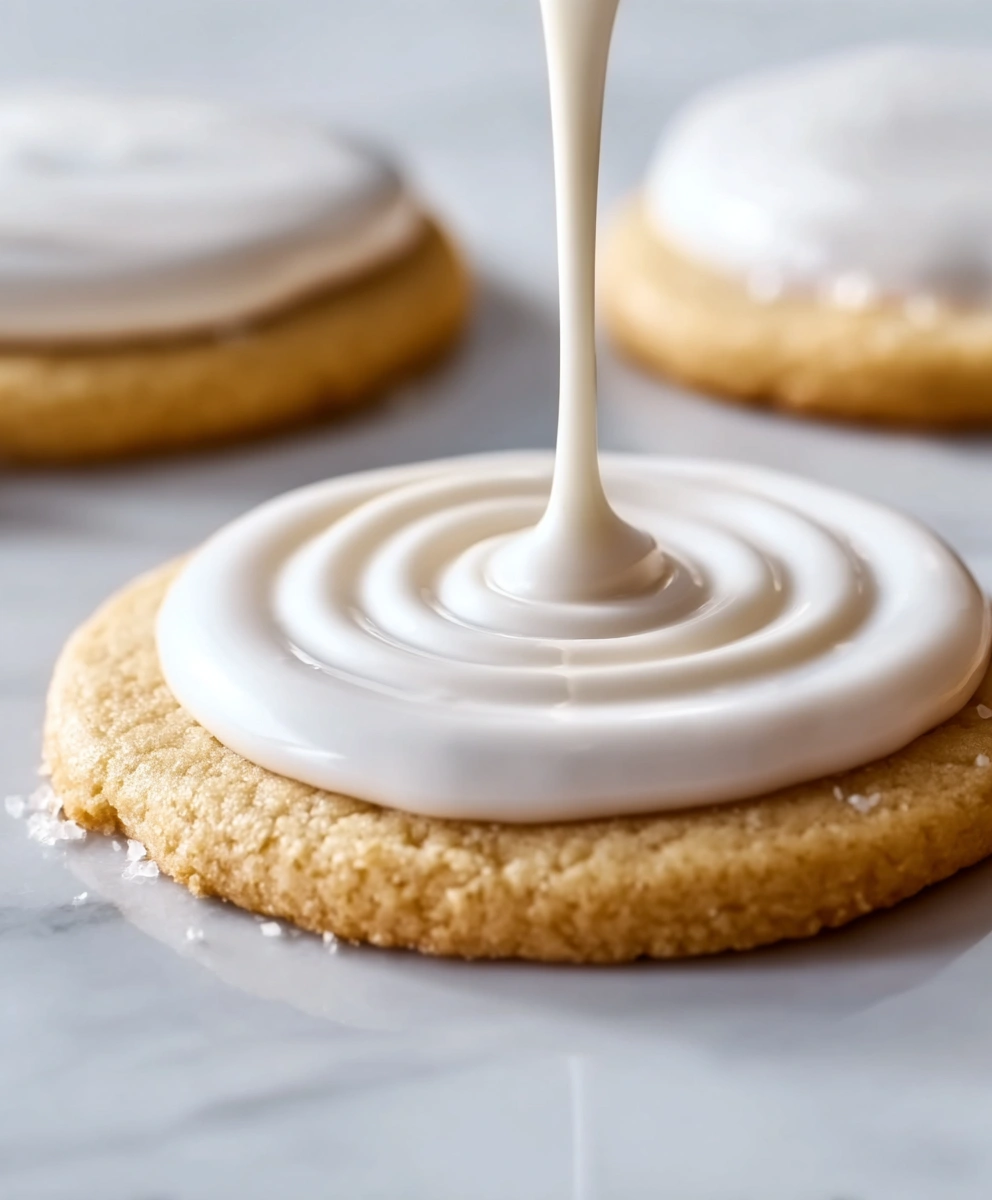
Sugar cookie icing is the finishing touch that transforms simple cookies into beautifully decorated treats. A good sugar cookie icing should be smooth, easy to work with, dry to a firm finish, and hold its shine without cracking. This type of icing is ideal for decorating, stacking, gifting, or packaging cookies, making it a favorite for holidays, birthdays, and special occasions.
Unlike soft buttercream or cream cheese frosting, sugar cookie icing dries completely at room temperature. Once set, it forms a glossy, firm surface that keeps designs sharp and clean.
What Makes Sugar Cookie Icing Special?
Sugar cookie icing that hardens is designed for decoration rather than spreading. It flows smoothly when applied but sets solid after drying. This balance allows you to outline cookies, flood large areas, and add fine details without the icing running or smearing.
Key characteristics of good sugar cookie icing:
- Smooth and lump-free texture
- Easy to color without thinning
- Dries glossy and firm
- Does not crack when fully dry
- Perfect for piping and flooding
Ingredients for Sugar Cookie Icing
This icing uses simple pantry ingredients and does not require egg whites or meringue powder.
You will need:
- 2 cups powdered sugar (sifted)
- 2 tablespoons milk (plus more if needed)
- 2 tablespoons light corn syrup
- ½ teaspoon vanilla extract (clear vanilla recommended for white icing)
- Gel food coloring (optional)
Step-by-Step Instructions
Step 1: Sift the Powdered Sugar
Sift the powdered sugar into a bowl to remove lumps. This ensures a smooth icing with no grainy texture.
Step 2: Add Liquid Ingredients
Add the milk, light corn syrup, and vanilla extract to the powdered sugar.
Step 3: Mix Until Smooth
Stir slowly at first, then mix until the icing becomes smooth and glossy. The icing should be thick but fluid.
Step 4: Adjust the Consistency
- If the icing is too thick, add milk a few drops at a time.
- If the icing is too thin, add more powdered sugar in small amounts.
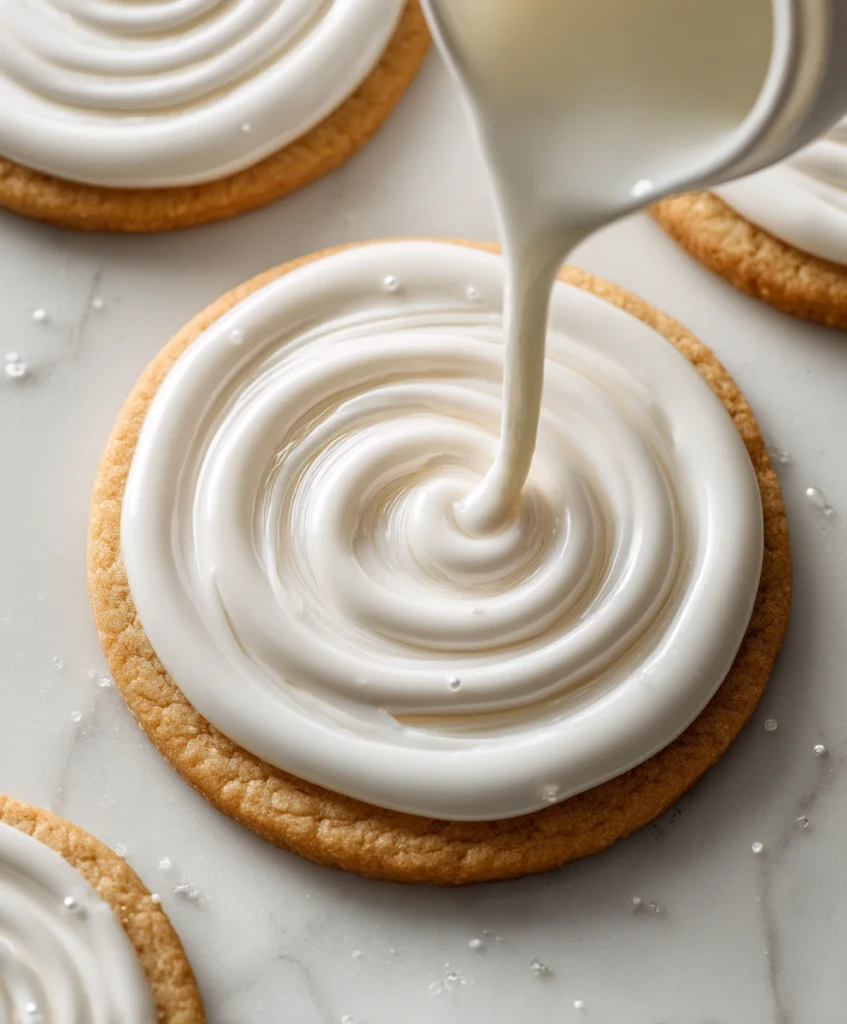
For flooding cookies, the icing should smooth out within 8–10 seconds after being spread.
Step 5: Color the Icing
Divide icing into bowls if using multiple colors. Add gel food coloring a little at a time and mix until evenly colored.
How to Use Sugar Cookie Icing
Outlining
Use thicker icing to outline the edges of the cookie. This creates a barrier that keeps flood icing in place.
Flooding
Thin the icing slightly and spoon or pipe it inside the outline. Use a toothpick to spread it evenly and pop air bubbles.
Decorating
Once the base layer sets slightly, add dots, lines, or details. For layered designs, allow each layer to dry before adding the next.
Drying and Setting Time
Sugar cookie icing dries naturally at room temperature.
- Touch-dry: about 1–2 hours
- Fully hardened: 8–12 hours
Avoid covering cookies while drying, as moisture can prevent proper setting.
Tips for Perfect Results
- Always sift powdered sugar for a smooth finish
- Use gel food coloring to maintain proper consistency
- Keep icing covered when not in use to prevent drying
- Allow cookies to dry completely before stacking or packaging
- Use clear vanilla for bright white icing
Storage and Shelf Life
Decorated cookies can be stored at room temperature in an airtight container for several days. Once fully dry, the icing will not stick or smudge, making it ideal for gifting or shipping.
Final Thoughts
Sugar cookie icing that hardens is the perfect choice for decorators of all levels. It’s simple to make, easy to customize, and delivers professional-looking results every time. Whether you’re decorating for a holiday, party, or just for fun, this icing provides a beautiful, glossy finish that lasts.