
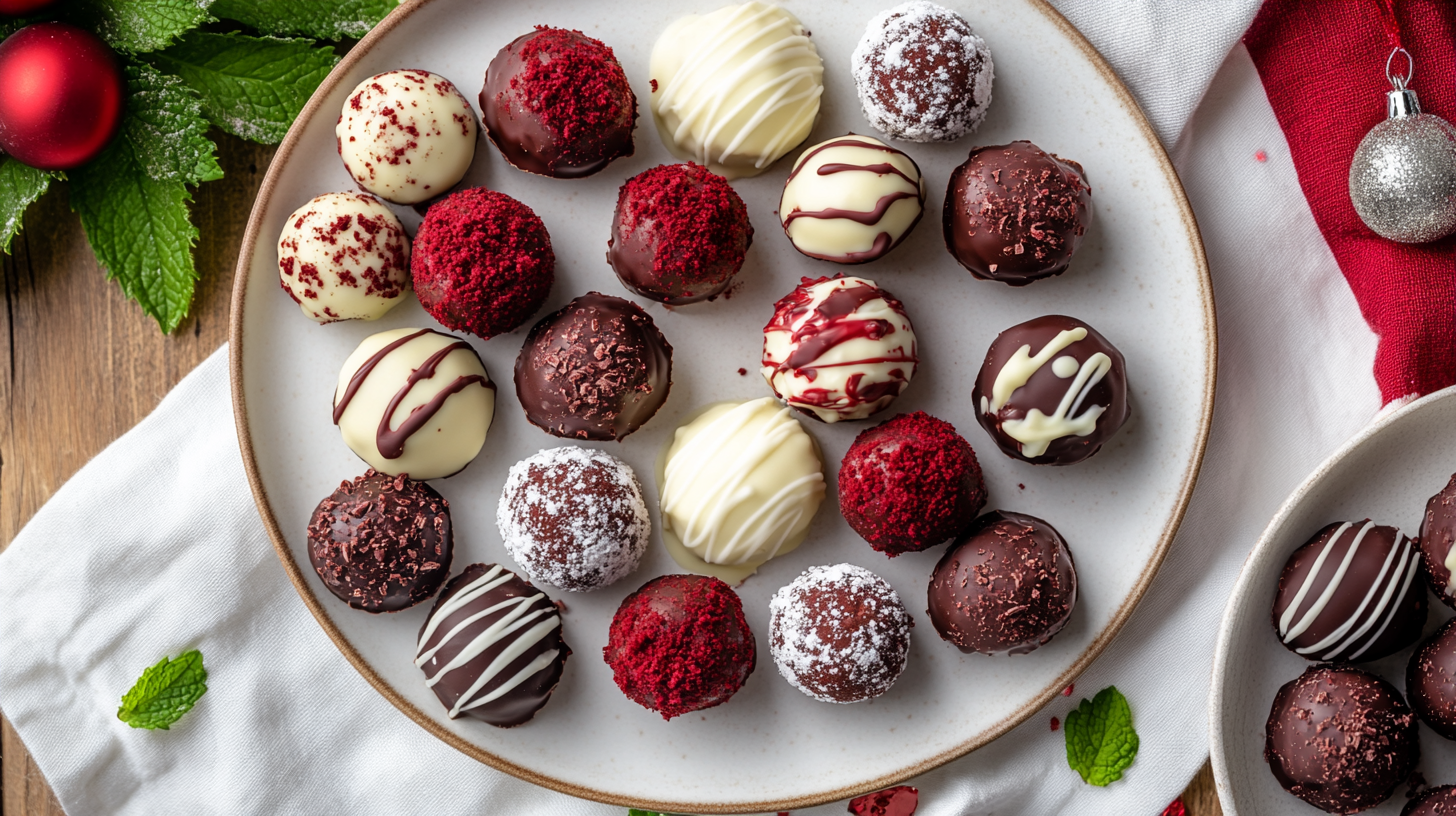
Red velvet truffles are a bite-sized, chocolate-covered delight with a rich, creamy center. They are perfect for holidays, special occasions, or just as an indulgent treat. This guide will walk you through every step to create the most delicious homemade red velvet truffles with a smooth chocolate coating.
Why You’ll Love These Red Velvet Truffles
- Simple ingredients: Requires only a handful of pantry staples.
- No baking needed: You can use store-bought cake to speed up the process.
- Customizable: Coat them in white, dark, or milk chocolate and add sprinkles or drizzles for decoration.
Ingredients You’ll Need FOR Red Velvet Truffles
For the Truffle Filling:
- 2 cups red velvet cake crumbs (from homemade or store-bought cake)
- 4 oz (½ block) cream cheese, softened
- 1 tsp vanilla extract (optional, for extra flavor)
For the Chocolate Coating:
- 12 oz white chocolate or dark chocolate melting wafers
- 1 tbsp coconut oil or vegetable shortening (optional, for a smoother chocolate coat)
For Decoration of Red Velvet Truffles (Optional):
- Red velvet cake crumbs
- Chocolate drizzle
- Sprinkles or edible glitter
Step-by-Step Guide to Making Red Velvet Truffles
Step 1: Prepare the Cake Crumbs
- Start with a fully baked red velvet cake – You can use a homemade cake or a store-bought one.
- Break the cake into pieces and use your hands or a food processor to turn it into fine crumbs. Ensure there are no large chunks.
- Transfer the crumbs to a large mixing bowl.
✅ Tip: If using store-bought cake, make sure it’s moist. Dry cake won’t bind well with the cream cheese.
Step 2: Mix the Truffle Dough
- Add softened cream cheese to the bowl with the cake crumbs.
- Use a fork, spatula, or your hands to mix the ingredients until fully combined. The mixture should be smooth and form a dough-like consistency.
- If the dough is too dry, add a little more cream cheese (1 tbsp at a time) until the mixture holds together.

✅ Tip: The dough should be moldable but not too sticky. If it sticks too much to your hands, refrigerate for 10 minutes before rolling.
Step 3: Shape the Truffle Balls
- Scoop out small portions of the dough using a teaspoon or cookie scoop.
- Roll each portion into a smooth ball between your palms.
- Place the rolled truffles on a parchment-lined baking sheet.
- Refrigerate for at least 30 minutes (or freeze for 15 minutes) to firm them up before dipping in chocolate.
✅ Tip: Keeping them cold prevents them from falling apart when dipped in melted chocolate.
Step 4: Melt the Chocolate
- Chop your chocolate into small pieces if using a chocolate bar.
- Use the microwave method:
- Place chocolate in a microwave-safe bowl.
- Heat in 20-second intervals, stirring in between, until fully melted.
- Use the double boiler method (stovetop):
- Place a heatproof bowl over a saucepan with simmering water.
- Stir chocolate constantly until smooth and fully melted.
- For a smoother finish, add 1 tbsp coconut oil or shortening to the melted chocolate and mix well.
✅ Tip: Avoid overheating chocolate. It can burn easily, so stir frequently while melting.
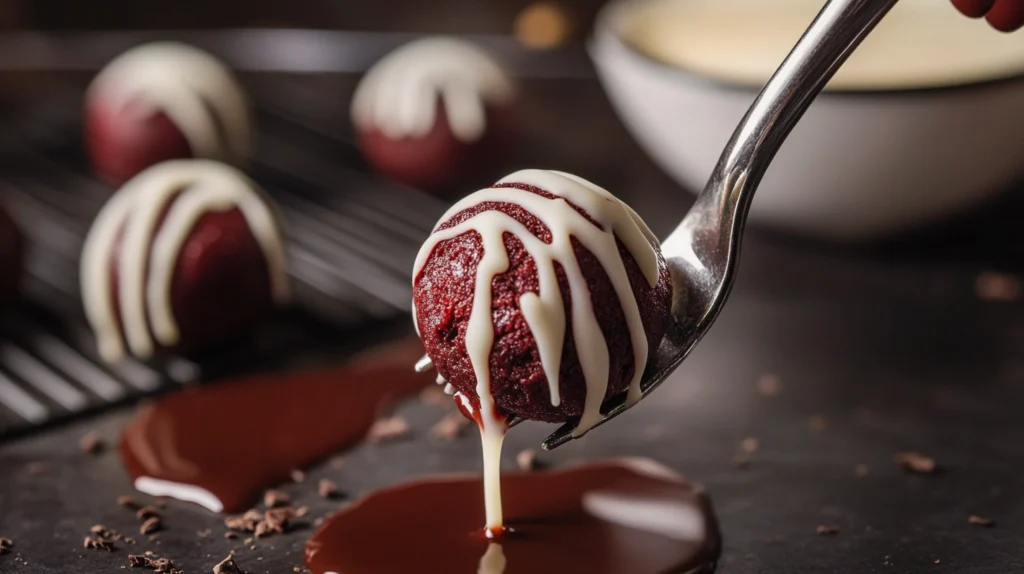
Step 5: Dip and Coat the Truffles
- Use a fork or dipping tool to lower each truffle into the melted chocolate.
- Roll it around gently to coat it evenly.
- Lift the truffle out, tapping the fork on the edge of the bowl to remove excess chocolate.
- Place the coated truffle back on the parchment-lined tray.
- Repeat with the remaining truffles.
✅ Tip: Work in batches, keeping uncoated truffles in the fridge while dipping others to prevent them from softening.
Step 6: Decorate Your Truffles
- Before the chocolate sets, sprinkle some cake crumbs on top for an elegant look.
- For a drizzle effect, melt a little extra chocolate (white or dark) and use a spoon or piping bag to drizzle over the truffles.
- Add sprinkles, edible glitter, or crushed nuts for extra texture and decoration.

✅ Tip: If using sprinkles, apply them immediately after dipping while the chocolate is still wet.
Step 7: Let the Truffles Set
- Allow the chocolate coating to harden completely by placing the tray in the fridge for 15–20 minutes.
- Once set, transfer the truffles to an airtight container.
✅ Tip: Store truffles in the fridge for up to one week or in the freezer for up to two months.
Serving and Storing Red Velvet Truffles
| Storage Method | Duration | Best Practice |
|---|---|---|
| Room Temperature | Up to 2 days | Keep in an airtight container in a cool place. |
| Refrigerator | Up to 1 week | Store in a sealed container to prevent drying out. |
| Freezer | Up to 2 months | Freeze in a single layer before transferring to a container. |
✅ Tip: If frozen, let truffles sit at room temperature for 15 minutes before serving.
FAQs About Red Velvet Truffles
1. Can I use cake mix instead of baking from scratch?
Yes! Bake a boxed red velvet cake and let it cool completely before turning it into crumbs.
2. What’s the best chocolate for coating?
Use high-quality baking chocolate or candy melts. Avoid regular chocolate bars, as they may not melt smoothly.
3. How do I prevent my truffles from cracking?
Ensure the cake balls are not too cold before dipping. Let them sit for 5 minutes at room temperature before coating.
4. Can I make these dairy-free?
Yes! Use dairy-free chocolate and substitute cream cheese with a vegan alternative.
5. How do I make these extra festive?
Roll them in crushed peppermint, drizzle with white chocolate, or add red and green sprinkles for a holiday twist!
Final Thoughts About Red Velvet Truffles
Red velvet truffles are an irresistible, easy-to-make treat perfect for any occasion. Whether you gift them, serve them at parties, or keep them as a personal indulgence, these creamy, chocolate-coated bites will always be a hit!
Looking for more dessert inspiration? Check out this chocolate and pistachio bar recipe for another delicious treat!