
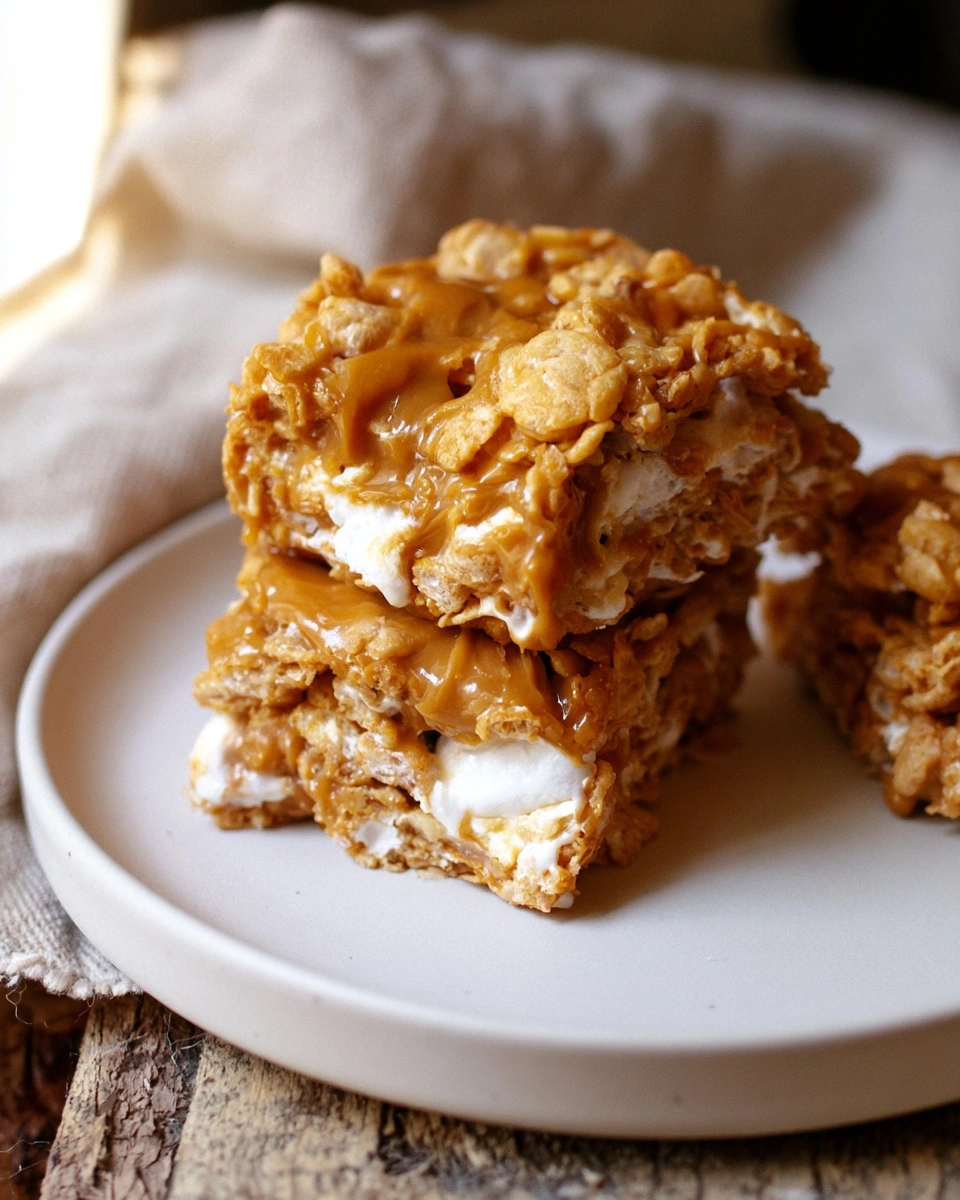
If you’re looking for the perfect no-bake dessert, these Peanut Butter Cornflake Marshmallow Bars are guaranteed to become a family favorite. They’re soft, chewy, crispy, buttery, and packed with gooey marshmallow goodness. Imagine classic Rice Krispie treats—but with crunchy cornflakes and creamy peanut butter for an irresistible twist . Inspired by classic American marshmallow cereal treats and modern no-bake dessert recipes, these bars feature browned butter for extra flavor, creamy peanut butter for richness, and crunchy cornflakes that stay wonderfully crisp.
Why You’ll Love This Recipe
- Ready in under 15 minutes
- No oven required
- Made with simple pantry ingredients
- Soft, chewy, and crunchy in every bite
- Kid-friendly recipe
- Perfect for parties and bake sales
- Easy to customize with chocolate, nuts, or sprinkles
- Great make-ahead dessert
Ingredients
- 5 tablespoons unsalted butter
- 4 cups mini marshmallows
- ¼ cup creamy peanut butter
- 6 cups cornflake cereal
- Extra mini marshmallows (optional, for texture)
Ingredient Notes
Butter
Browning the butter creates a rich, nutty flavor that makes these bars taste homemade and bakery-quality.
Mini Marshmallows
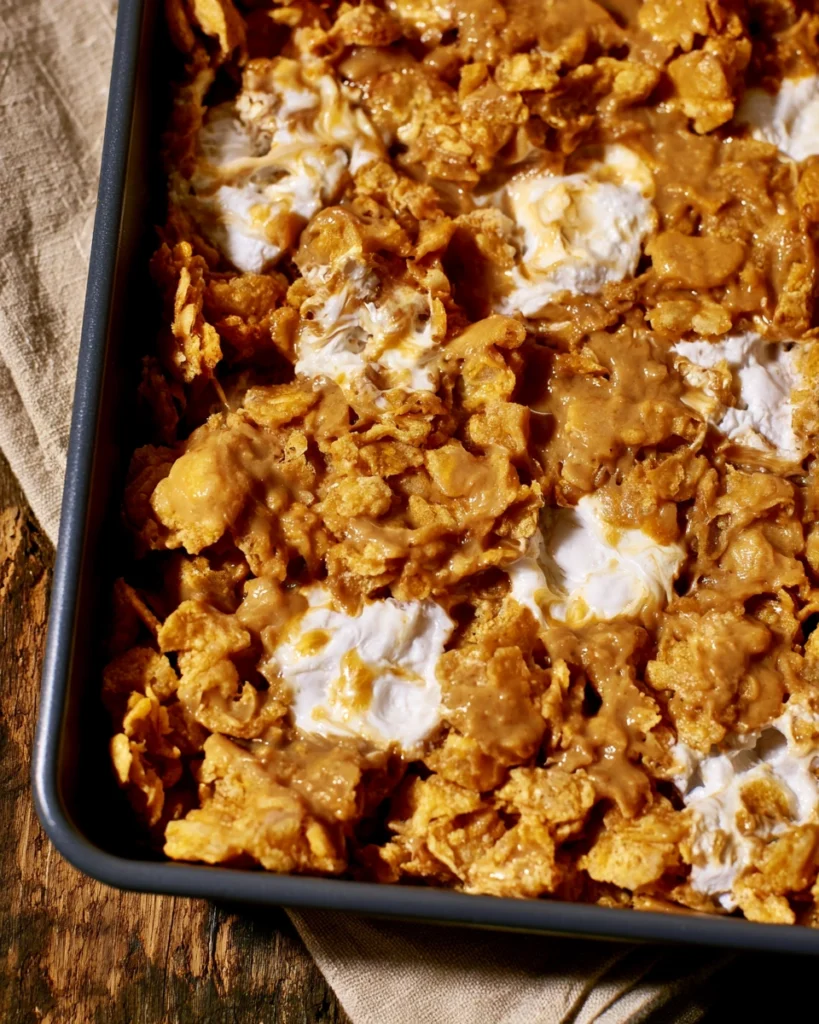
Mini marshmallows melt quickly and evenly. Save a handful to stir in at the end for little gooey pockets.
Creamy Peanut Butter
Traditional creamy peanut butter works best because it melts smoothly into the marshmallow mixture.
Cornflakes
Fresh cornflakes provide the best crunch. Slightly stale cereal can produce chewy bars.
Kitchen Equipment
- Large saucepan
- Silicone spatula
- 8×8-inch baking pan
- Nonstick spray or parchment paper
- Measuring cups
How to Make Peanut Butter Cornflake Marshmallow Bars
Step 1: Prepare the Pan
Lightly grease an 8×8-inch baking pan or line it with parchment paper.
Step 2: Brown the Butter
Melt the butter over medium heat. Continue cooking until golden brown and fragrant. Don’t let it burn.
Step 3: Melt the Marshmallows
Add the mini marshmallows. Stir constantly until completely melted.
Step 4: Add Peanut Butter
Mix in the peanut butter. Stir until smooth and creamy.
Step 5: Fold in Cornflakes
Remove from heat. Gently fold in the cornflakes until evenly coated. If desired, stir in a handful of extra marshmallows for gooey bites.
Step 6: Press into Pan
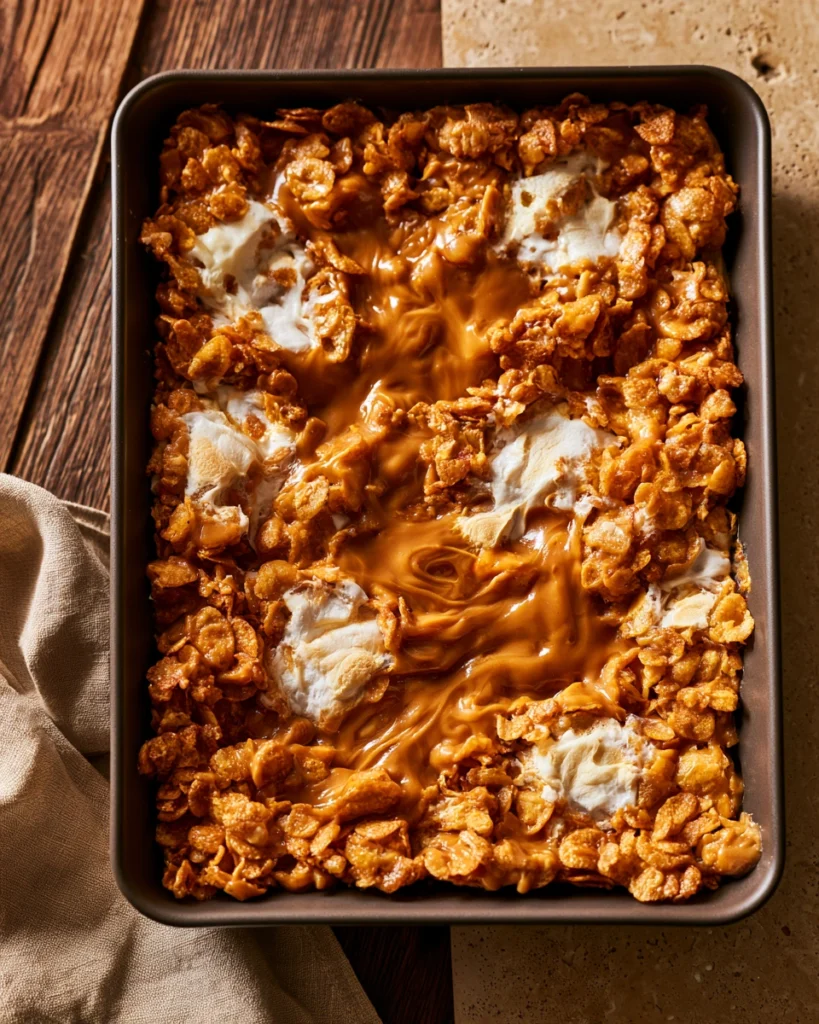
Transfer the mixture to the prepared pan. Using a lightly buttered spatula or wax paper, gently press into an even layer. Avoid pressing too firmly, which can make the bars dense.
Step 7: Cool
Allow the bars to cool for about 30 minutes.mSlice into squares and enjoy.
Tips for the Best Bars
- Brown the butter for deeper flavor.
- Don’t overheat the marshmallows.
- Stir gently to keep the cornflakes crunchy.
- Press lightly into the pan.
- Use fresh cereal.
- Let cool completely before slicing.
Delicious Variations
Chocolate Drizzle
Drizzle melted milk or dark chocolate over the cooled bars.
Peanut Butter Lovers
Increase peanut butter to ⅓ cup for a stronger peanut flavor.
Sea Salt
Sprinkle flaky sea salt over the top.
Chocolate Chips
Fold mini chocolate chips into the slightly cooled mixture.
Reese’s Pieces
Add chopped peanut butter cups or candy pieces.
White Chocolate
Drizzle melted white chocolate before serving.
Holiday Version
Decorate with festive sprinkles.
Storage
Store in an airtight container at room temperature for 3–4 days.
Refrigeration
Store in the refrigerator for up to 1 week. Bring to room temperature before serving for the softest texture.
Freezing
Freeze individually wrapped bars for up to 2 months. Thaw at room temperature.
Serving Suggestions
These bars pair perfectly with:
- Cold milk
- Coffee
- Hot chocolate
- Vanilla ice cream
- Chocolate milk
- Peanut butter milkshake
Common Mistakes to Avoid
Overheating the marshmallows
Makes the bars tough instead of chewy.
Pressing too hard
Creates dense bars.
Using stale cereal
Reduces crunch.
Skipping the browned butter
You’ll miss an incredible depth of flavor.
Frequently Asked Questions
Can I use crunchy peanut butter?
Yes. It adds extra peanut crunch.
Can I substitute Rice Krispies?
Absolutely. Rice Krispies create a lighter texture while cornflakes give a heartier crunch.
Can I make these gluten-free?
Yes, if you use certified gluten-free cornflakes and marshmallows.
Why are my bars hard?
Usually because the marshmallows were overheated or the mixture was packed too tightly.
Can I double the recipe?
Yes.
Use a 9×13-inch pan.
Expert Tips
Professional bakers recommend removing the pan from the heat before adding the cereal. This helps preserve the crisp texture while keeping the marshmallow mixture soft and chewy. Browning the butter first also creates a richer, more complex flavor compared to simply melting it.
Recipe Summary
These Peanut Butter Cornflake Marshmallow Bars are everything you want in a quick dessert—crispy, chewy, buttery, peanut buttery, and packed with gooey marshmallow flavor. They’re perfect for parties, holidays, lunchboxes, or anytime you need a simple no-bake treat that everyone loves.