
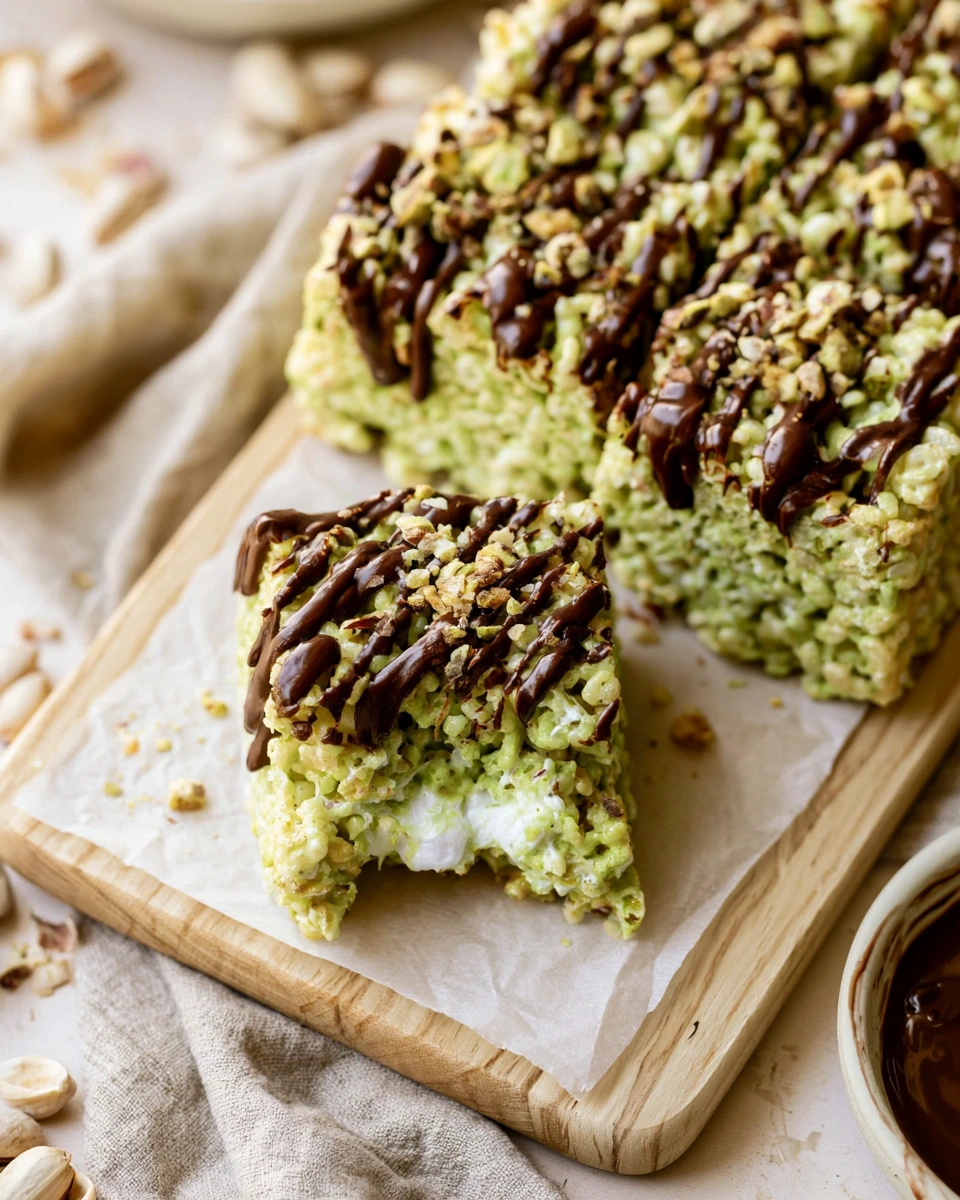
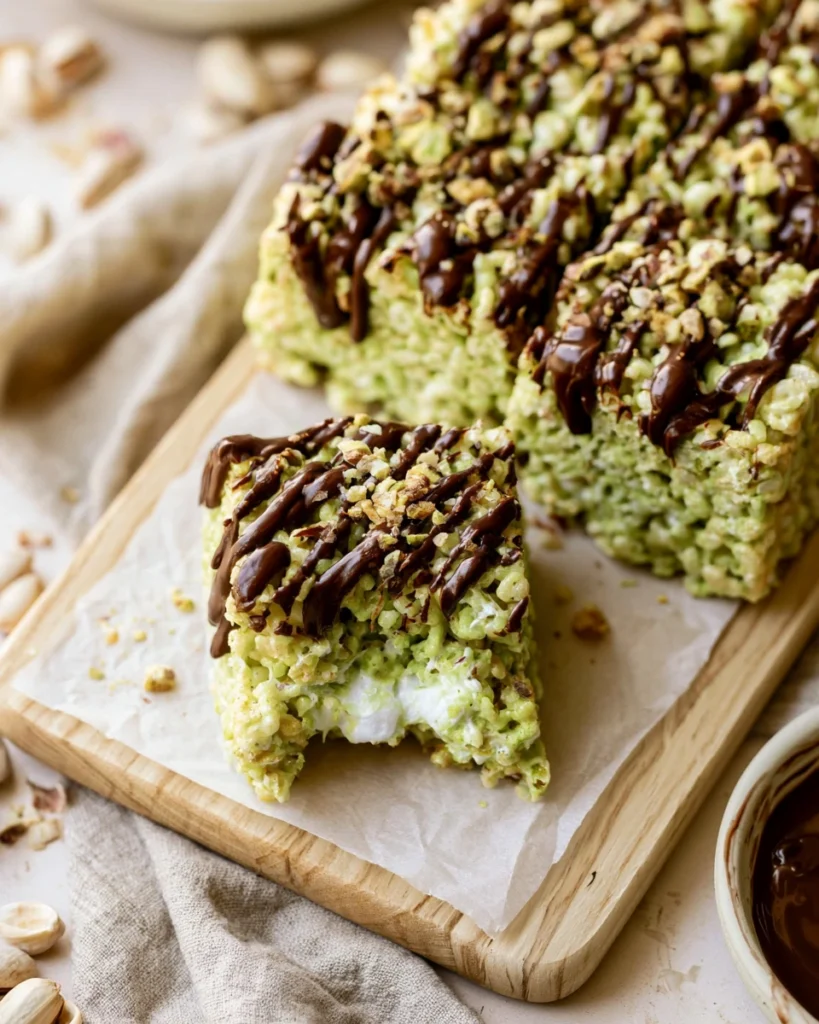
Pistachio Rice Krispie Treats with Dark Chocolate are the perfect combination of crispy, chewy, nutty, and chocolatey goodness. Made with buttery marshmallows, crispy rice cereal, pistachio pudding mix, and finished with a rich drizzle of dark chocolate, these no-bake dessert bars come together in less than 40 minutes. They’re ideal for holidays, bake sales, birthdays, or whenever you’re craving a simple homemade sweet treat.
If you love classic Rice Krispie treats but want something a little more elegant and flavorful, this recipe is guaranteed to become a new favorite.
Why You’ll Love These Pistachio Rice Krispie Treats
- Ready in about 35 minutes
- No baking required
- Soft, thick, and chewy texture
- Beautiful pistachio flavor
- Rich dark chocolate drizzle
- Great for parties and gifting
- Beginner-friendly recipe
- Easy to customize
What Makes These Different?
Traditional Rice Krispie treats rely only on butter, marshmallows, and cereal. This version includes instant pistachio pudding mix, which gives every bite a subtle nutty flavor, a beautiful light green color, and an even softer texture. The finishing drizzle of dark chocolate balances the sweetness perfectly while making the treats look bakery-worthy.
Ingredients
For the Rice Krispie Treats
- 6 tablespoons salted butter
- 16 ounces mini marshmallows, divided
- 1 (3.4-ounce) instant pistachio pudding mix
- 1 teaspoon pure vanilla extract
- 6 cups crispy rice cereal
Dark Chocolate Topping
- ½ cup dark chocolate chips or dark chocolate melting wafers
- 1 teaspoon coconut oil (optional, for smoother drizzling)
Optional Garnishes
- Chopped roasted pistachios
- Flaky sea salt
- White chocolate drizzle
- Edible gold flakes for special occasions
Equipment Needed
- Large saucepan
- Silicone spatula
- 9×9-inch baking pan
- Parchment paper
- Microwave-safe bowl
- Sharp knife
How to Make Pistachio Rice Krispie Treats with Dark Chocolate
Step 1: Prepare the Pan
Line a 9×9-inch square baking pan with parchment paper, leaving extra paper hanging over the sides for easy lifting later.
Step 2: Melt the Butter
In a large saucepan over medium-low heat, melt the butter until completely smooth.
Step 3: Add Marshmallows
Reserve about one cup of mini marshmallows.Add the remaining marshmallows to the melted butter and stir continuously until fully melted and smooth.
Step 4: Add Flavor
Remove the pan from the heat. Mix in:
- vanilla extract
- pistachio pudding mix
- Stir until completely incorporated.
Step 5: Fold in the Cereal
Add the crispy rice cereal along with the reserved mini marshmallows. Fold gently until everything is evenly coated. Avoid pressing too hard while mixing to keep the treats soft.
Step 6: Transfer to the Pan
Spread the mixture into the prepared pan.Lightly press with a buttered spatula or wax paper. Do not compact the mixture too firmly or the bars will become dense instead of chewy.
Step 7: Cool
Allow to cool for 45–60 minutes at room temperature.
Step 8: Melt the Chocolate
Microwave the dark chocolate in 20-second intervals, stirring between each until smooth. If desired, stir in coconut oil for a shinier drizzle.
Step 9: Decorate
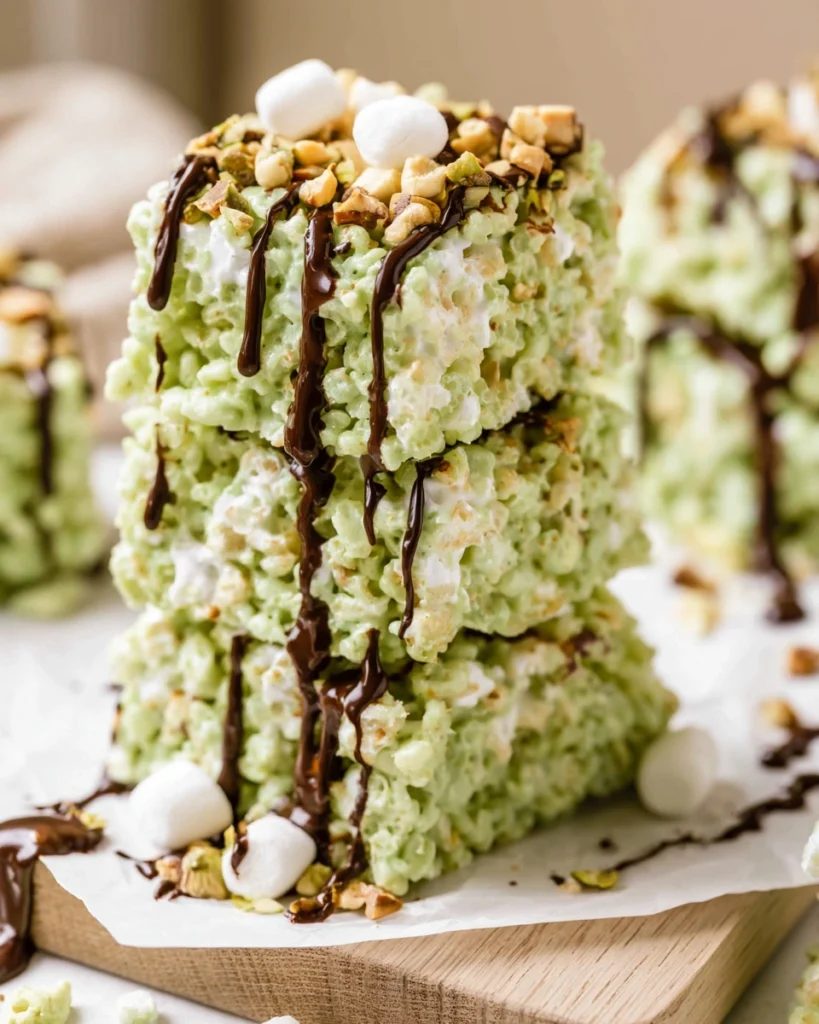
Drizzle the melted dark chocolate over the cooled treats using a spoon or piping bag.Sprinkle chopped pistachios on top before the chocolate sets.
Step 10: Slice
Once the chocolate hardens, lift the treats from the pan and cut into 16 squares. Serve and enjoy!
Tips for Perfect Rice Krispie Treats
Use Fresh Marshmallows
Fresh marshmallows create softer, fluffier bars.
Don’t Overheat
Too much heat makes marshmallows tough.
Press Gently
Light pressure keeps the treats chewy.
Let Them Cool Naturally
Refrigerating before cutting can make them firmer than desired.
Add Extra Marshmallows
Leaving some whole marshmallows mixed into the cereal creates delicious gooey pockets.
Variations
White Chocolate Pistachio
Replace dark chocolate with melted white chocolate.
Extra Crunch
Mix in:
- chopped pistachios
- toasted almonds
- crushed pretzels
Chocolate Lovers
Stir mini chocolate chips into the cooled cereal mixture before pressing into the pan.
Holiday Version
Decorate with:
- green sprinkles
- edible glitter
- festive chocolate drizzle
Storage
Store in an airtight container:
- Room temperature: 3–4 days
- Refrigerator: up to 1 week
Place parchment paper between layers to prevent sticking.
Can You Freeze Them?
Yes.
Wrap individual squares tightly and freeze for up to 2 months.
Thaw at room temperature for about 20 minutes before serving.
Serving Ideas
These bars are perfect for:
- Holiday dessert platters
- Birthday parties
- Baby showers
- Bake sales
- Afternoon coffee
- School snacks
- Homemade gifts
Frequently Asked Questions
Can I use homemade pistachio paste?
Yes. It creates a richer pistachio flavor, but reduce the butter slightly to compensate for the extra fat.
Can I use milk chocolate?
Absolutely.
Milk chocolate makes the bars sweeter, while dark chocolate offers a richer contrast.
Why are my Rice Krispie treats hard?
Usually because:
- marshmallows overheated
- mixture packed too tightly
- stale marshmallows
- overcooking
Can I make these gluten-free?
Yes.
Simply use certified gluten-free crispy rice cereal and confirm your pudding mix is gluten-free.
Can I make them ahead?
Definitely.
They’re actually even better after sitting for several hours, allowing the flavors to meld together.
Expert Tips
- Use high-quality dark chocolate (60–70% cocoa) for the best flavor.
- Toast chopped pistachios before garnishing to enhance their aroma.
- Butter your spatula to prevent sticking.
- Use parchment paper for easy removal.
- Cut with a warm knife for cleaner edges.
Nutrition (Approximate Per Serving)
- Calories: 170
- Carbohydrates: 28g
- Protein: 2g
- Fat: 7g
- Saturated Fat: 4g
- Sugar: 17g
- Fiber: 1g
- Sodium: 100mg
Nutrition values are estimates and will vary depending on ingredients used.
Final Thoughts
These Pistachio Rice Krispie Treats with Dark Chocolate are proof that a simple no-bake dessert can still feel elegant and indulgent. The buttery marshmallow base, creamy pistachio flavor, crisp cereal, and rich dark chocolate drizzle create a perfectly balanced dessert that’s as beautiful as it is delicious.
Whether you’re preparing treats for a holiday gathering, gifting homemade desserts, or simply satisfying a sweet craving, this easy recipe delivers bakery-quality results with minimal effort.